Dr Carlo Massimo Saratti, senior assistant in the division of cariology and endodontics in the University of Geneva, details a minimally invasive smile rehabilitation.
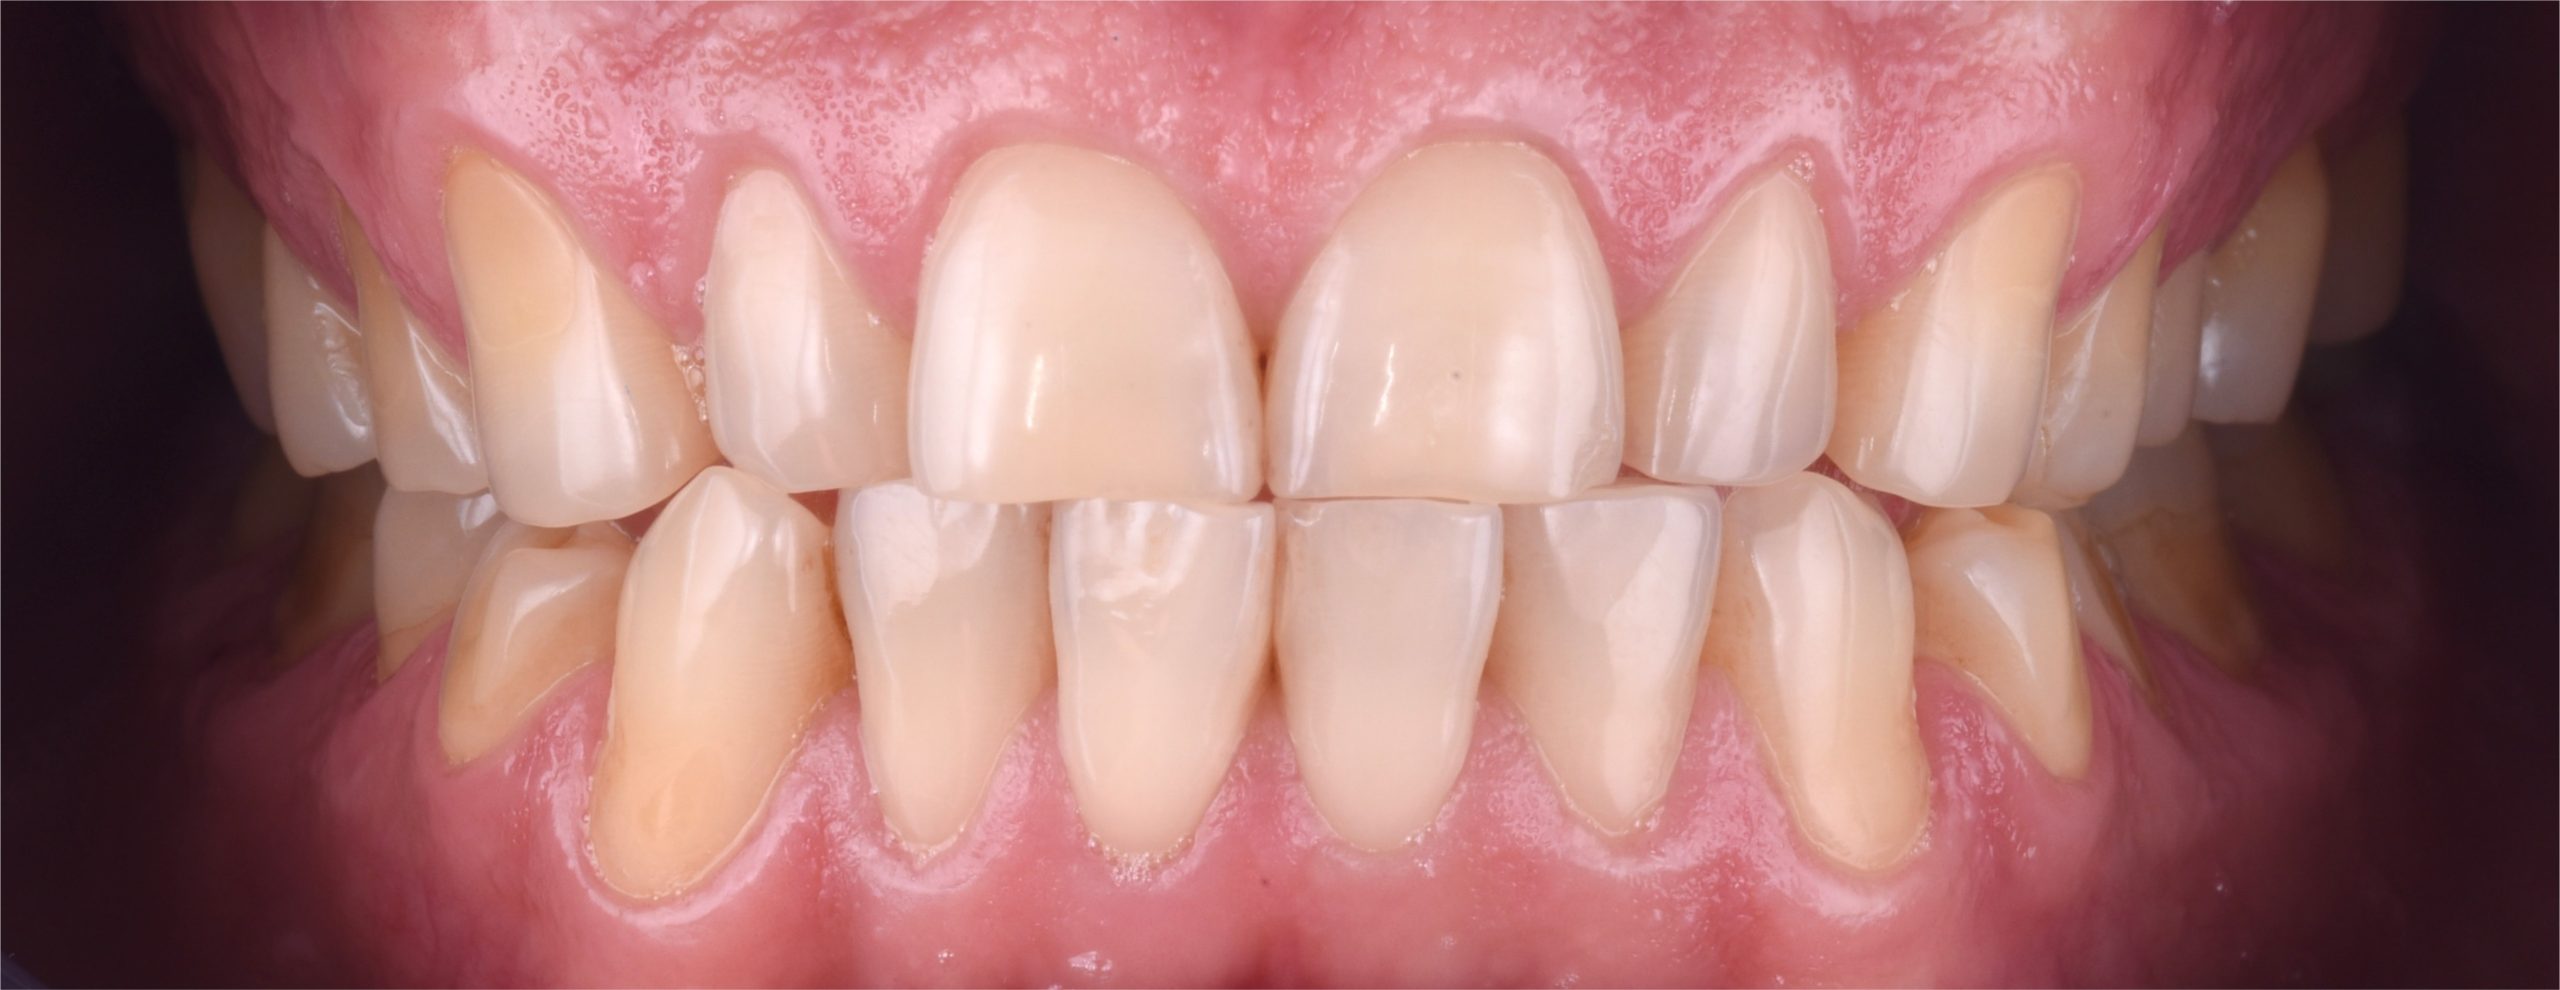
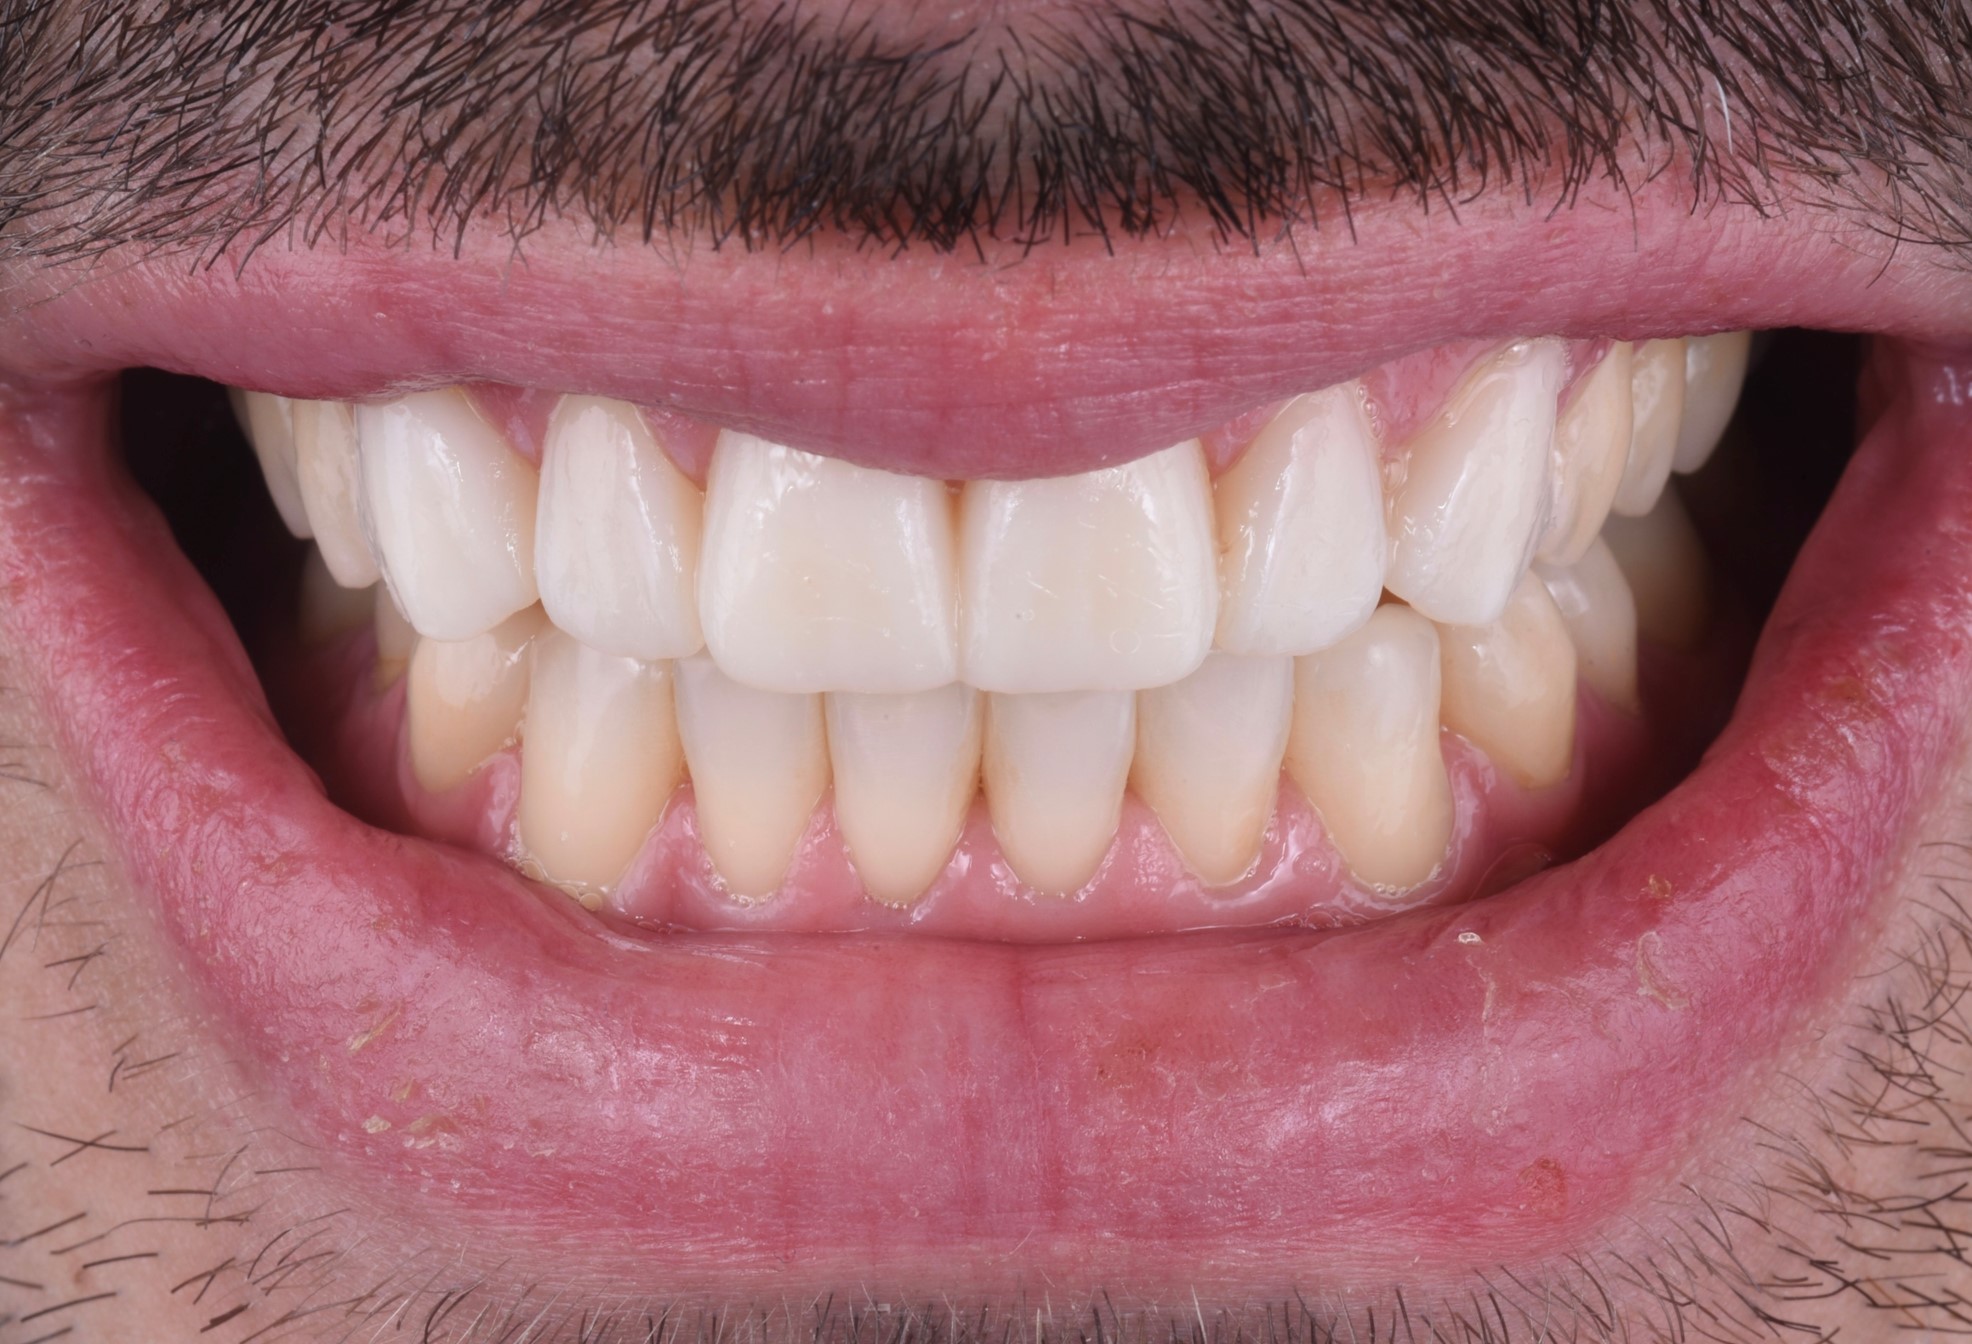
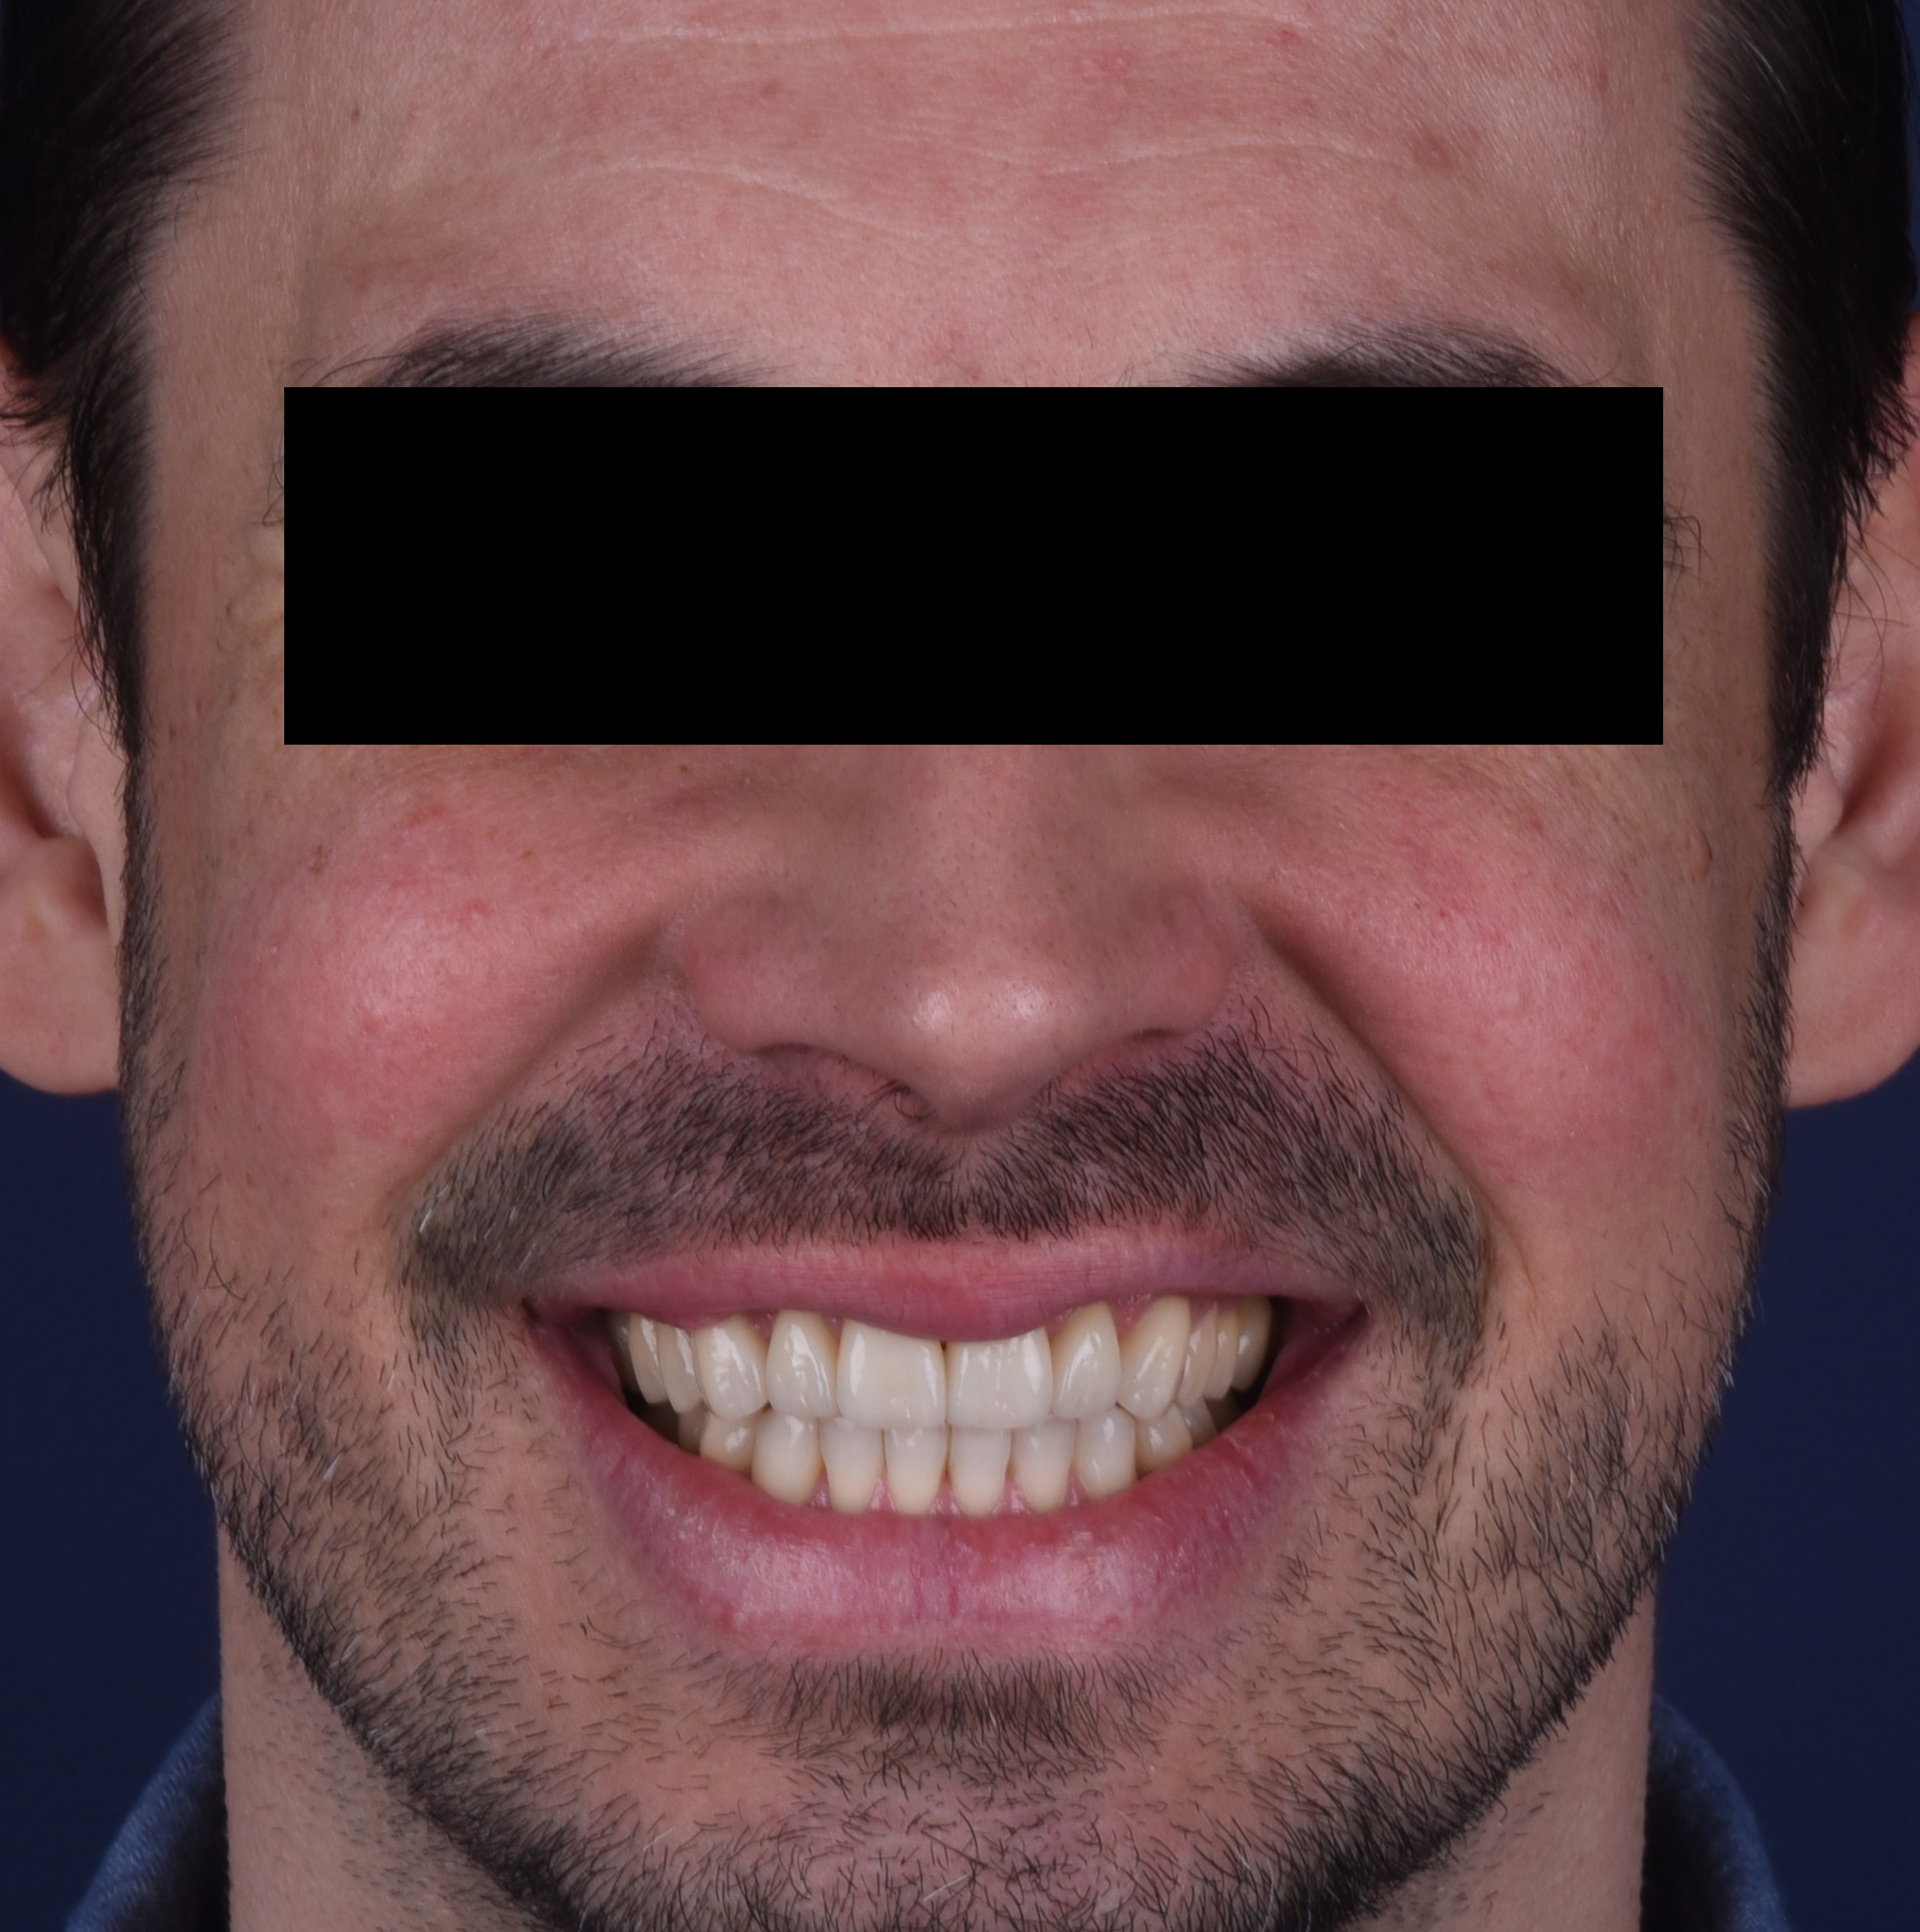
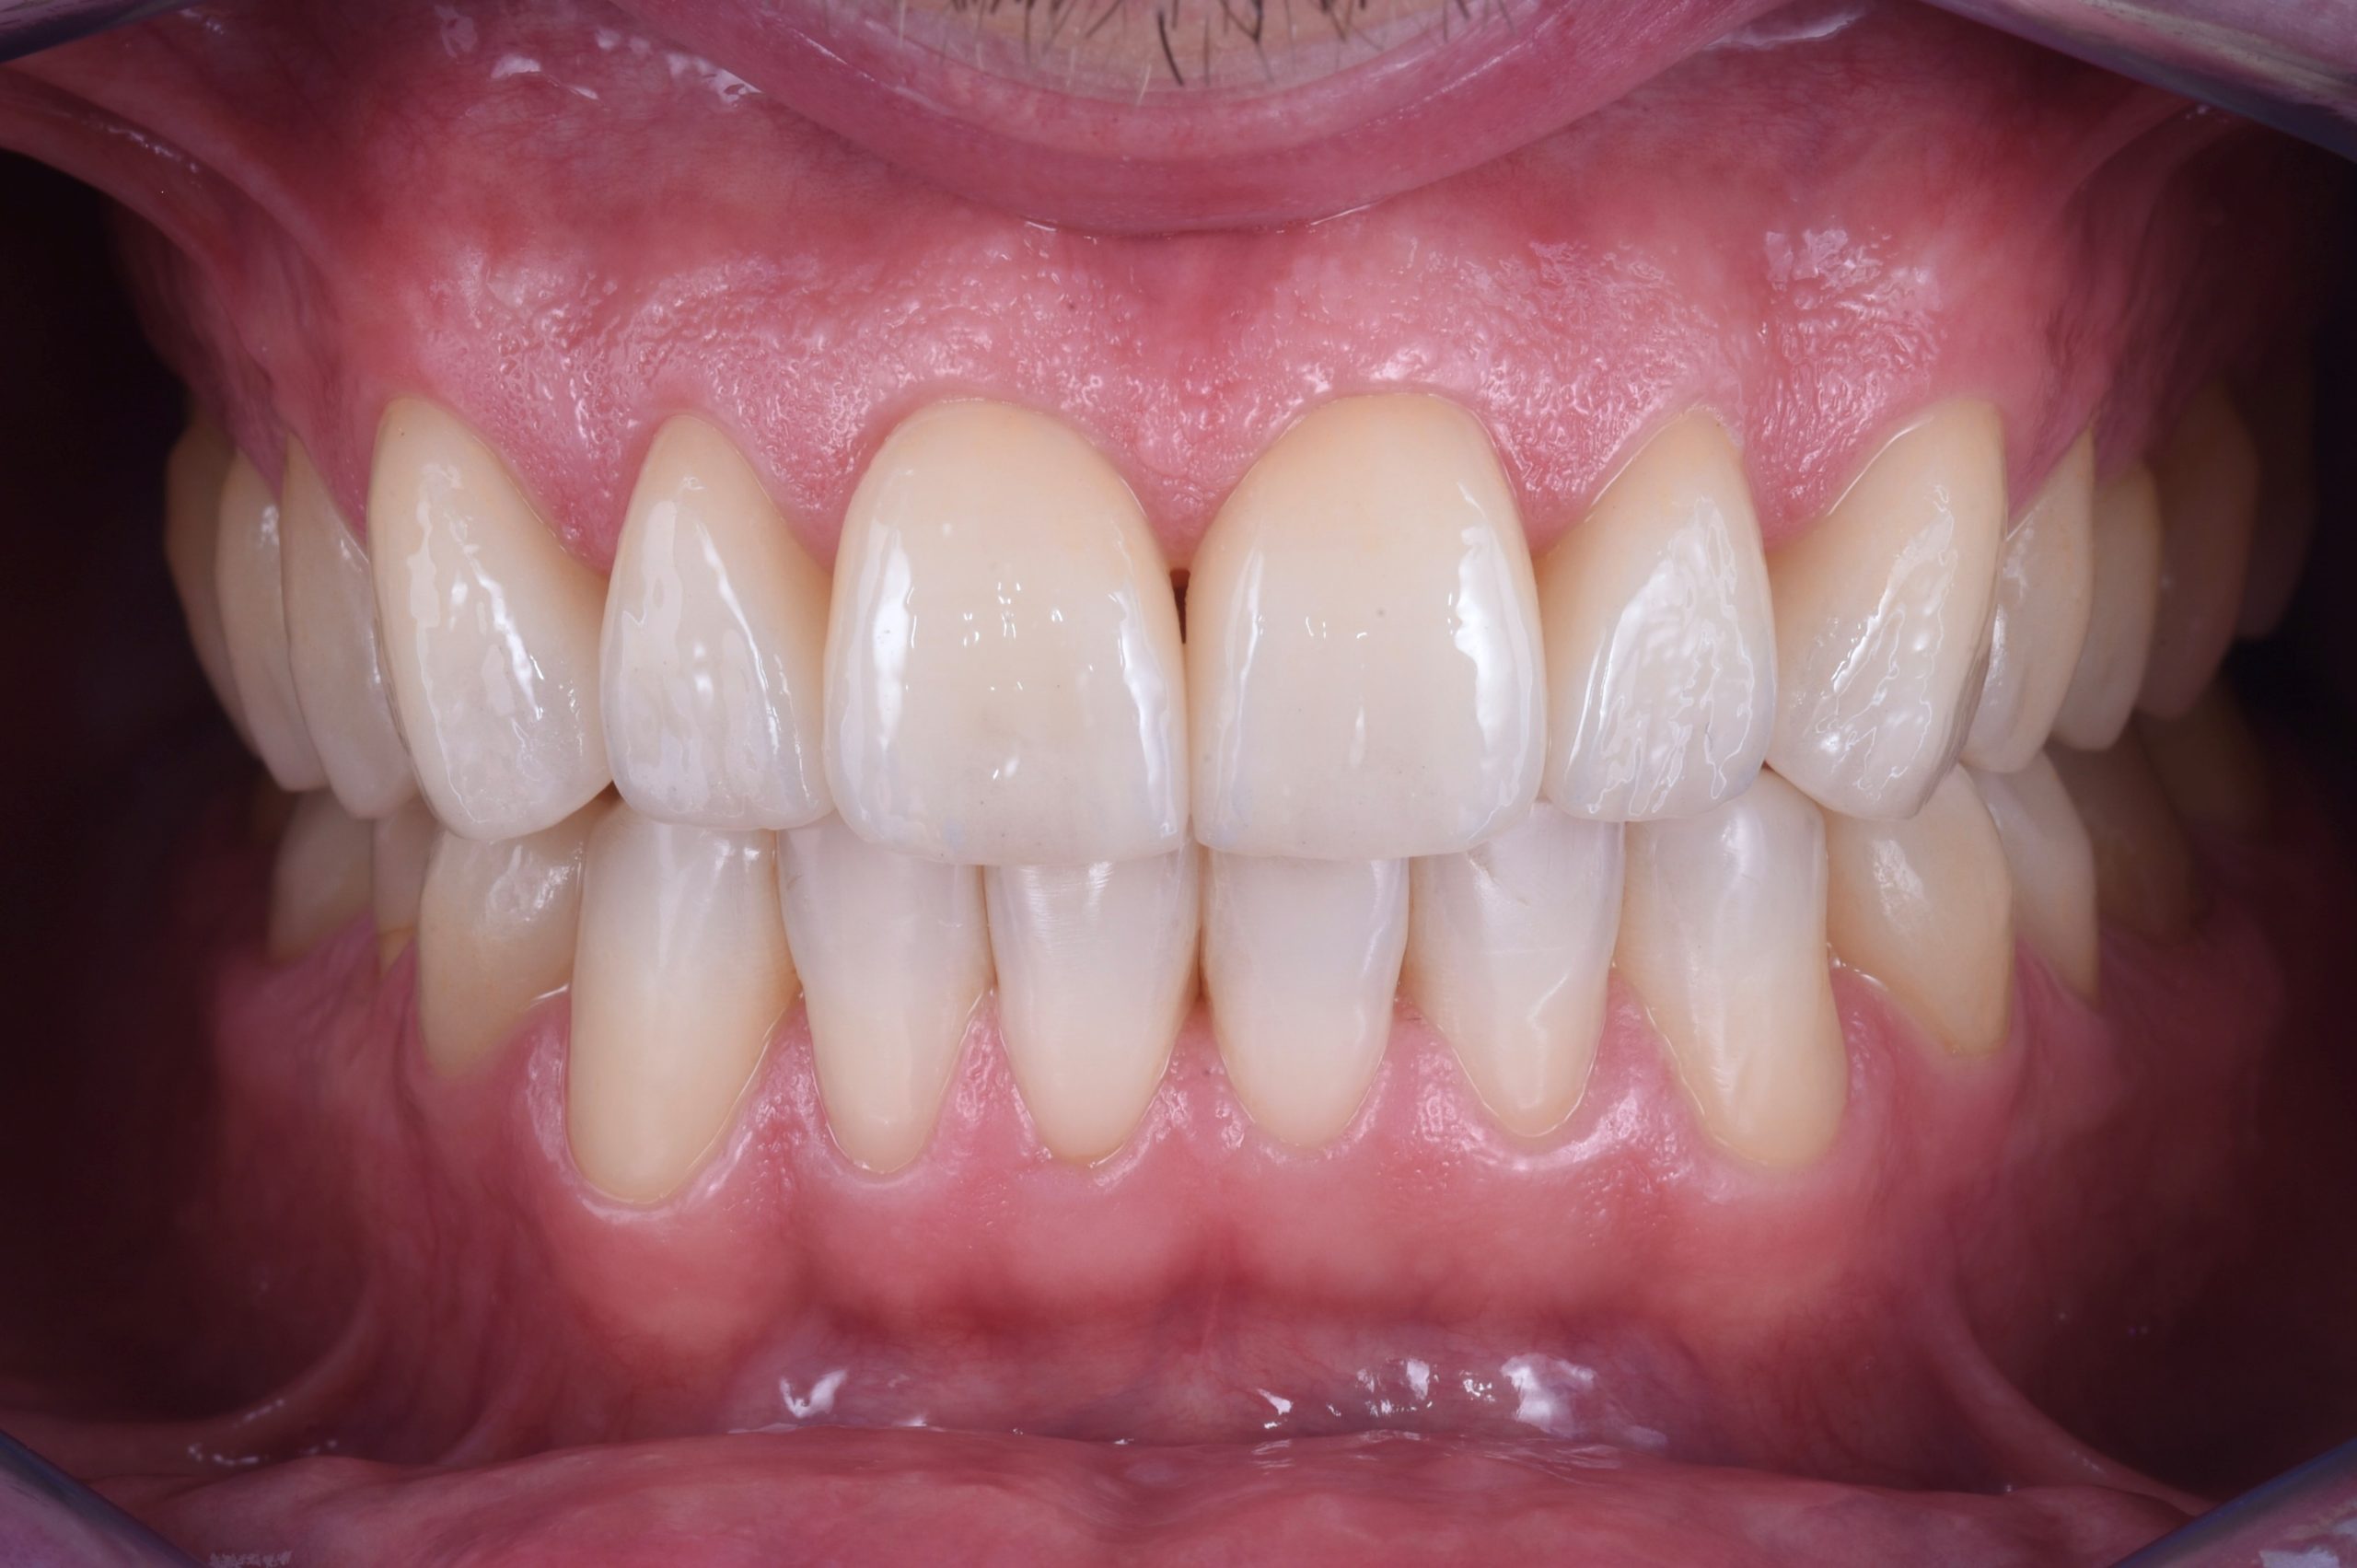
A 42-year-old male patient presented in our practice hoping to refresh the setting of his smile. He was conscious of the fact that he has worn dentition in the frontal sextant from upper canine to canine, right and left (UR3 to UL3) and some posterior teeth.
This situation led to exposure of a significant area of dentin which created a high level of sensitivity in and also impacted the aesthetics of his smile in the anterior region (Figure 1).
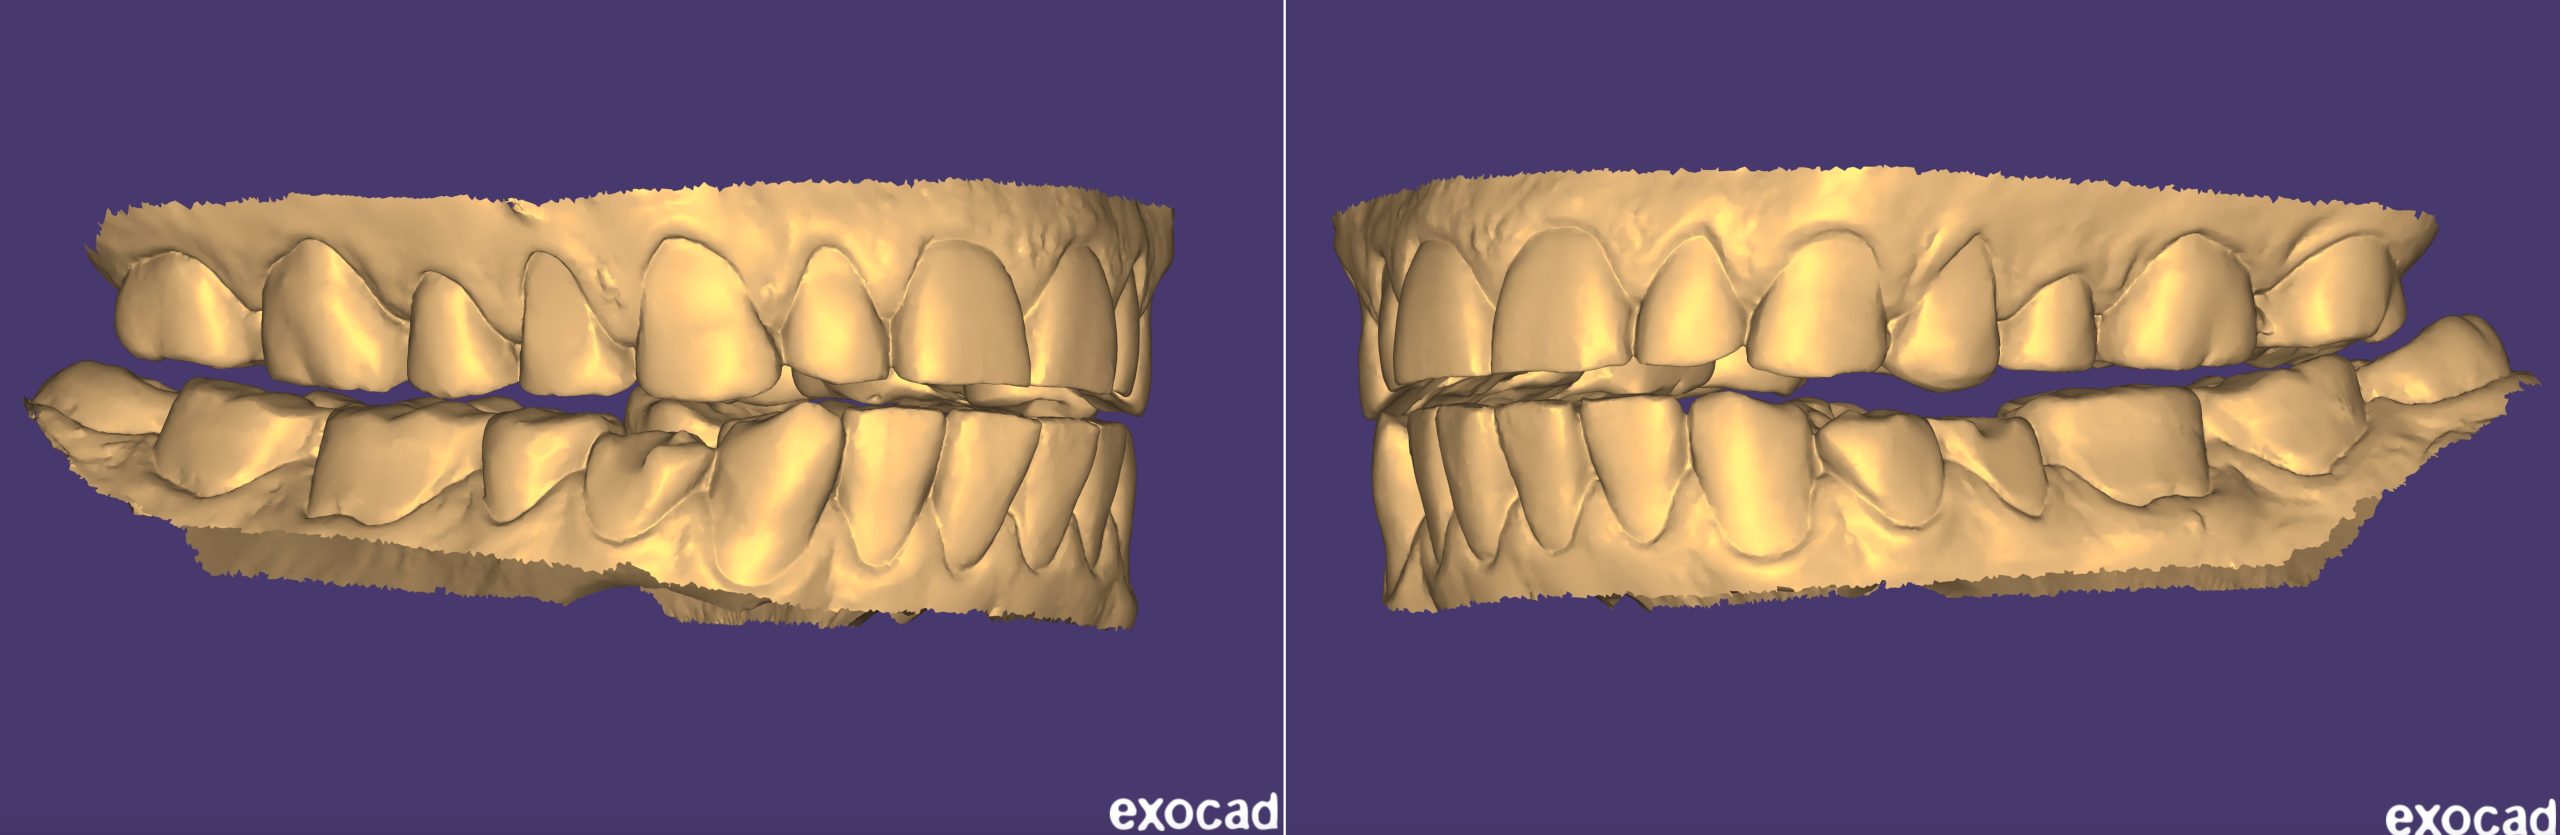
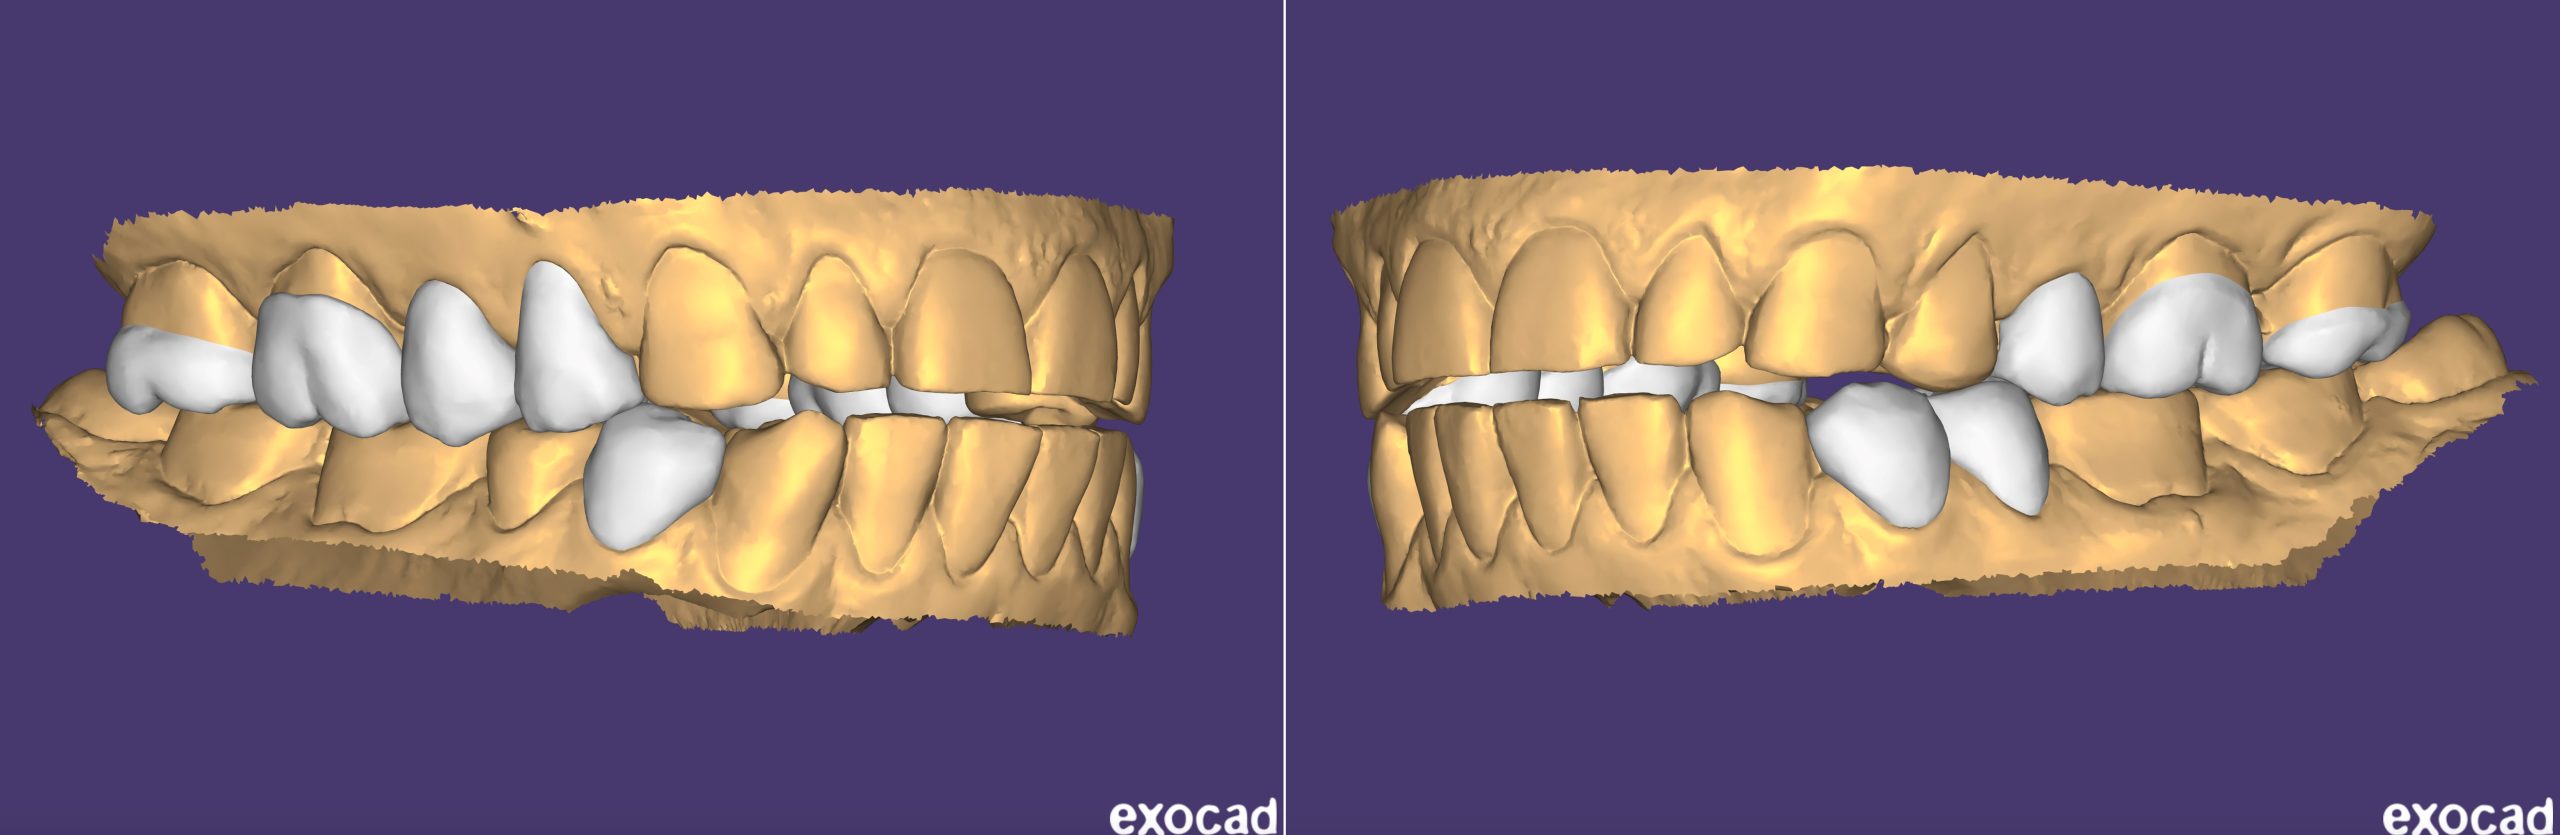
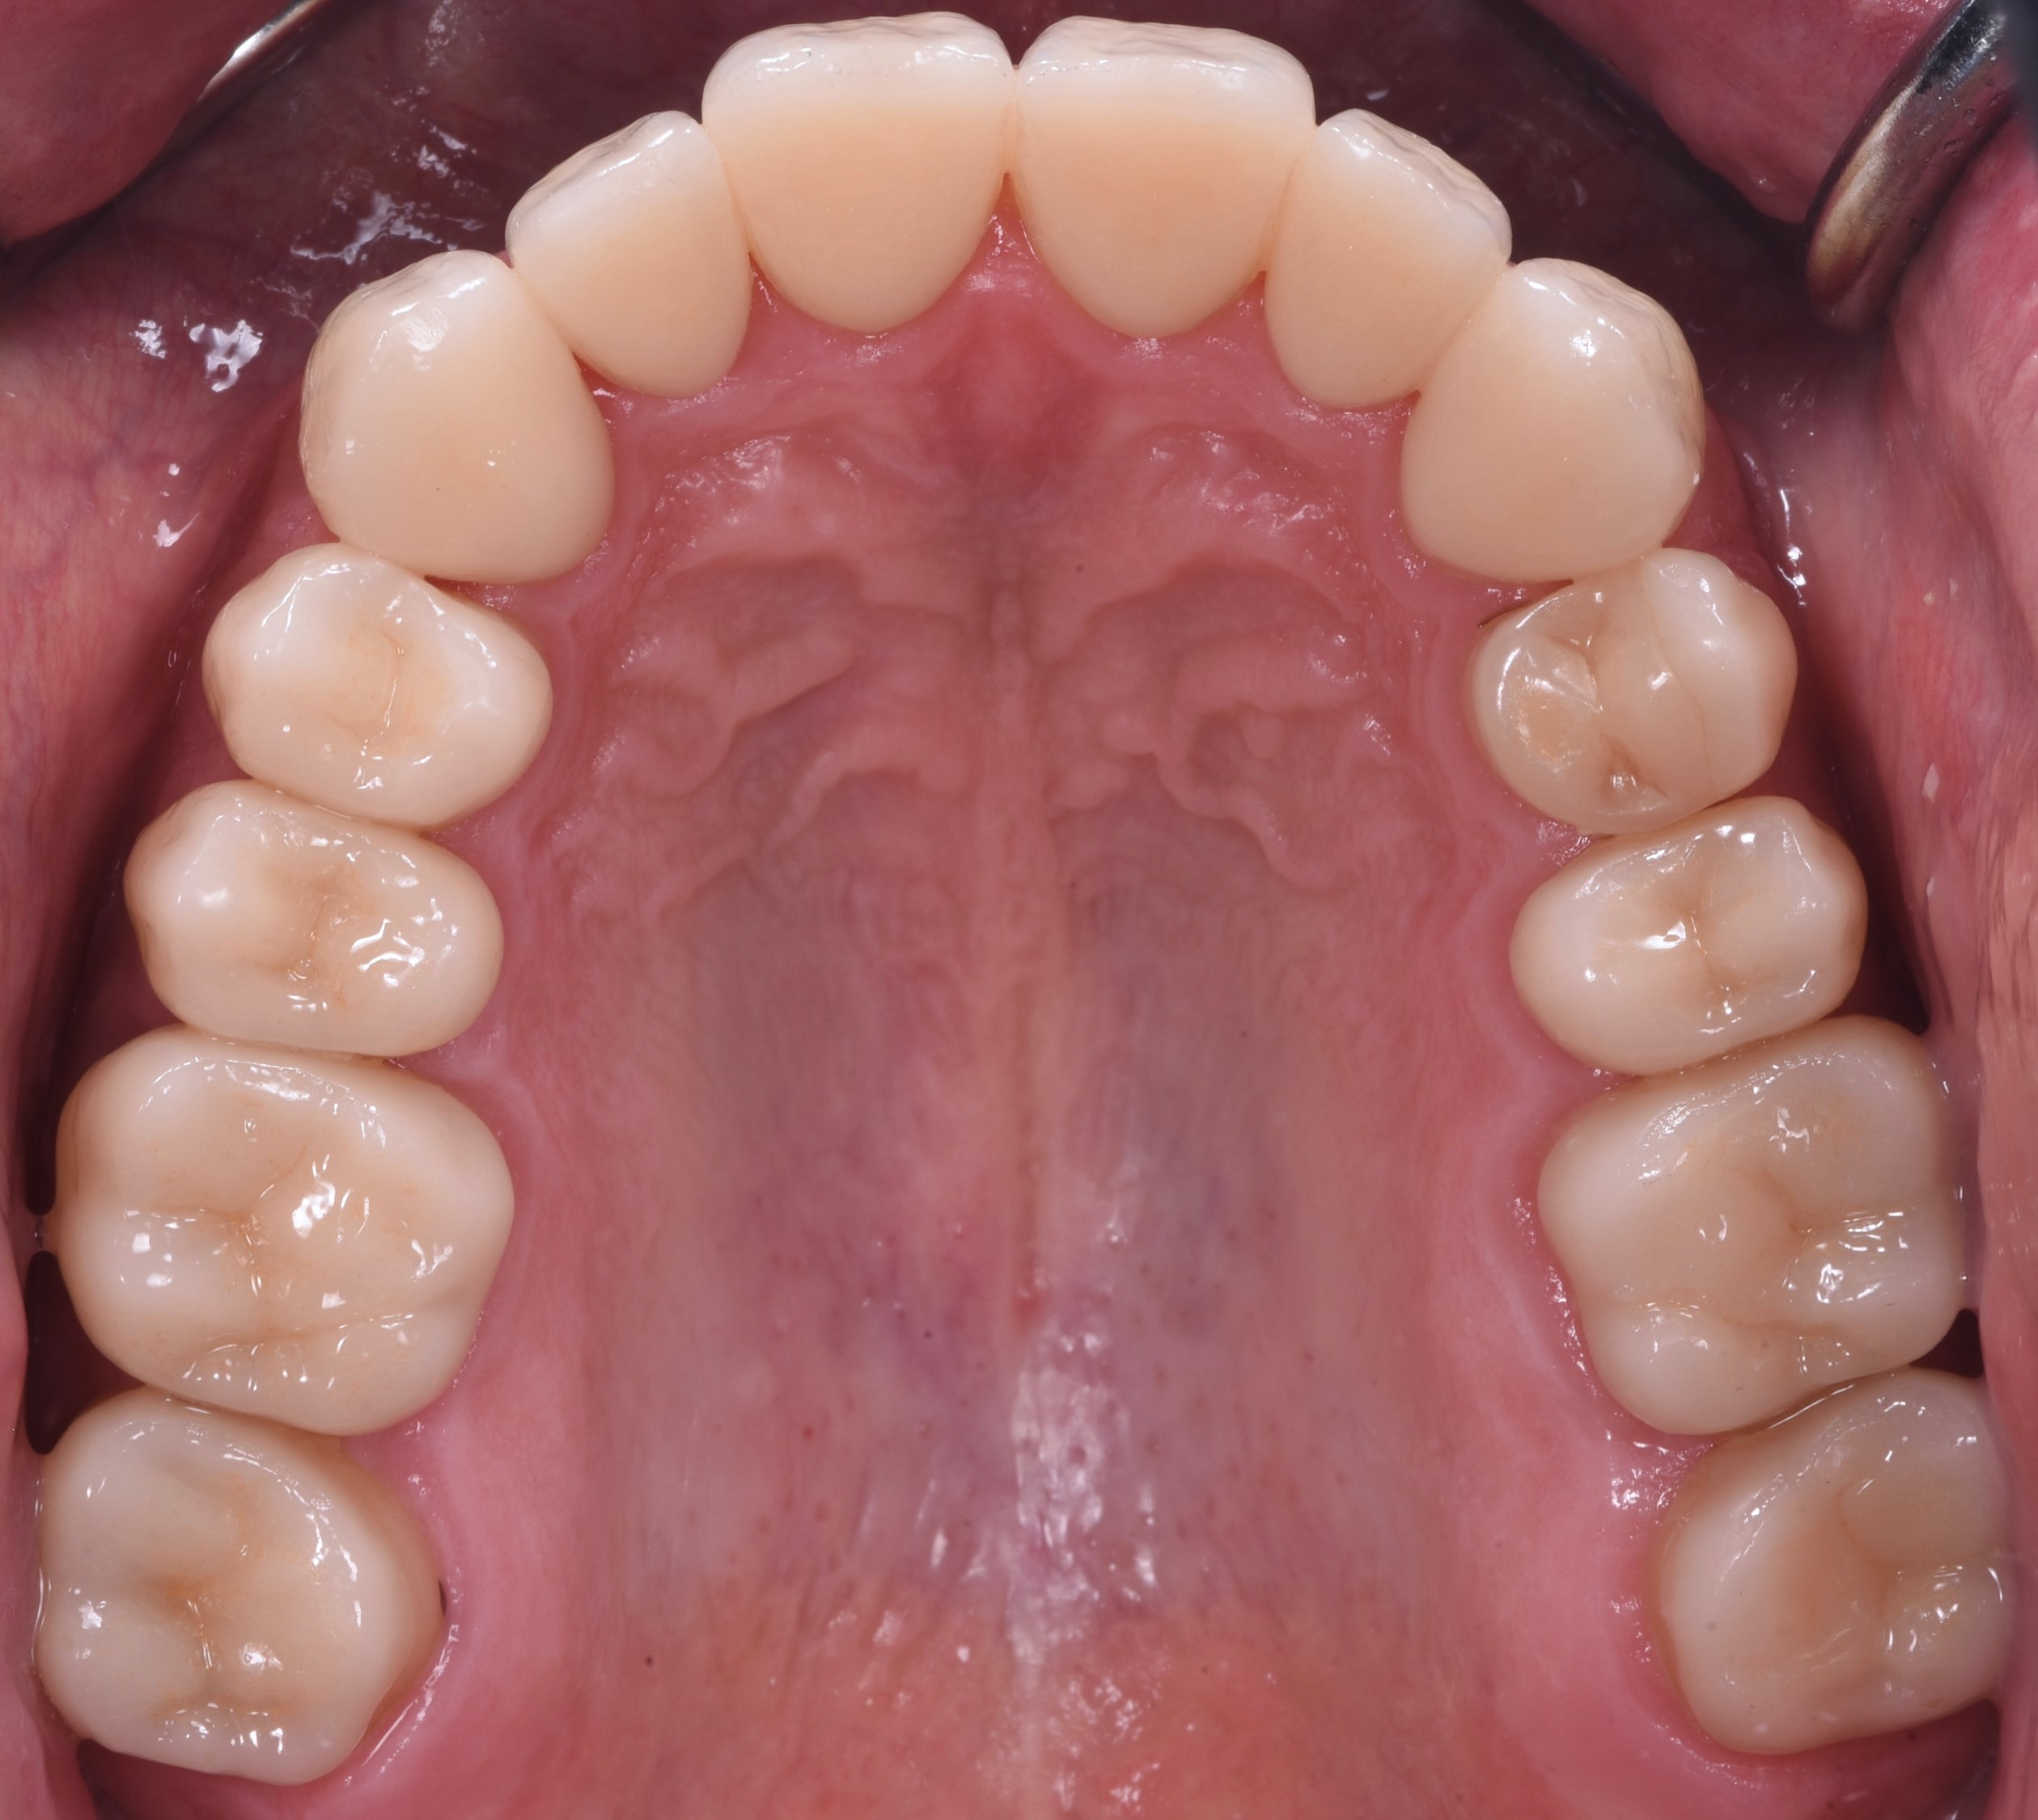
He also presented with a bit of crowding and some dental class III issues that resulted in a modification in the occlusal condition, tendency to occlusal class III and edge-to-edge condition (Figure 2).
The patient completed a partial rehabilitation at another clinic two to three years prior, but treatment of the lower molars, second lower right premolar and first upper left premolar remained incomplete.
The patient’s request was to maintain restorations already delivered if they were still in good condition.

Treatment
The first step was to open the vertical dimension of the occlusion (VDO) by placing tabletop veneers on the teeth that had experienced abrasion and erosion — especially on the UR4, UR5, UR6, UR7, UL5, UL6, UL7, LL4, LL5 and LR4.
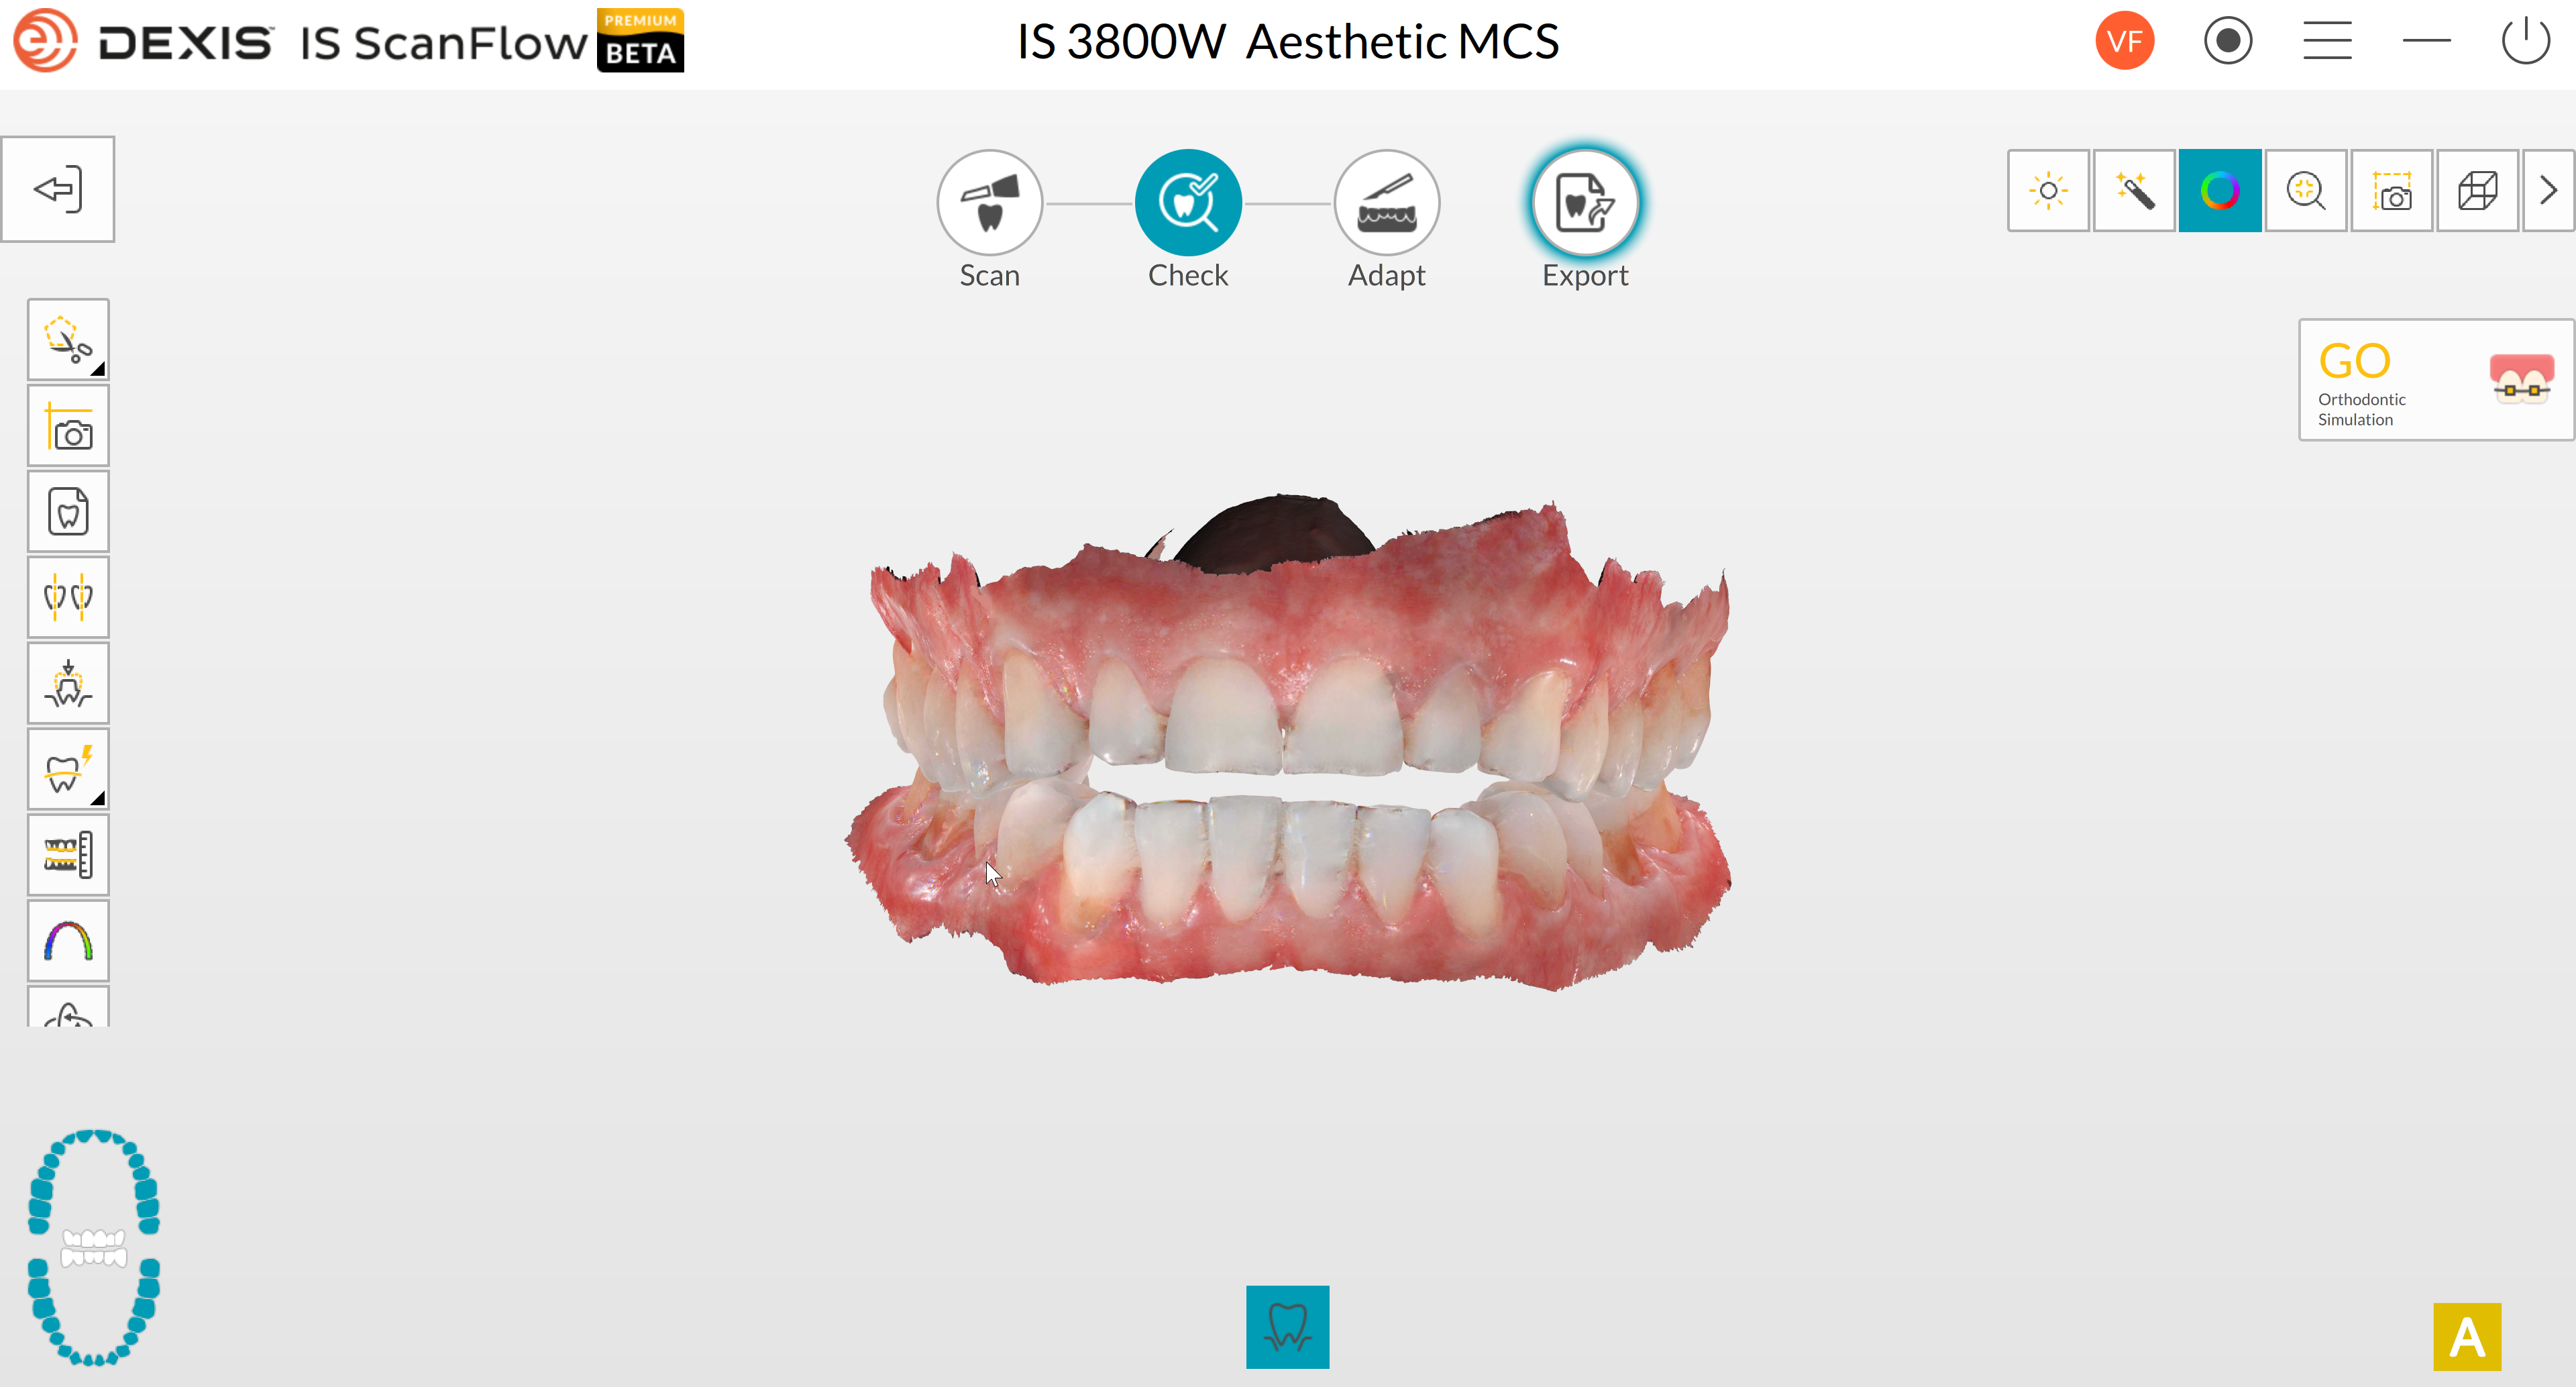
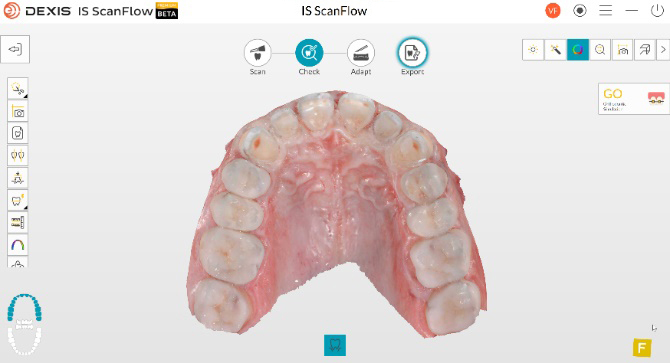
A digital impression (Figure 3) was taken with the DEXIS IS 3800W intraoral scanner on the opened VDO in the centric relationship (CR) and stabilised with posterior jig of occlusion.
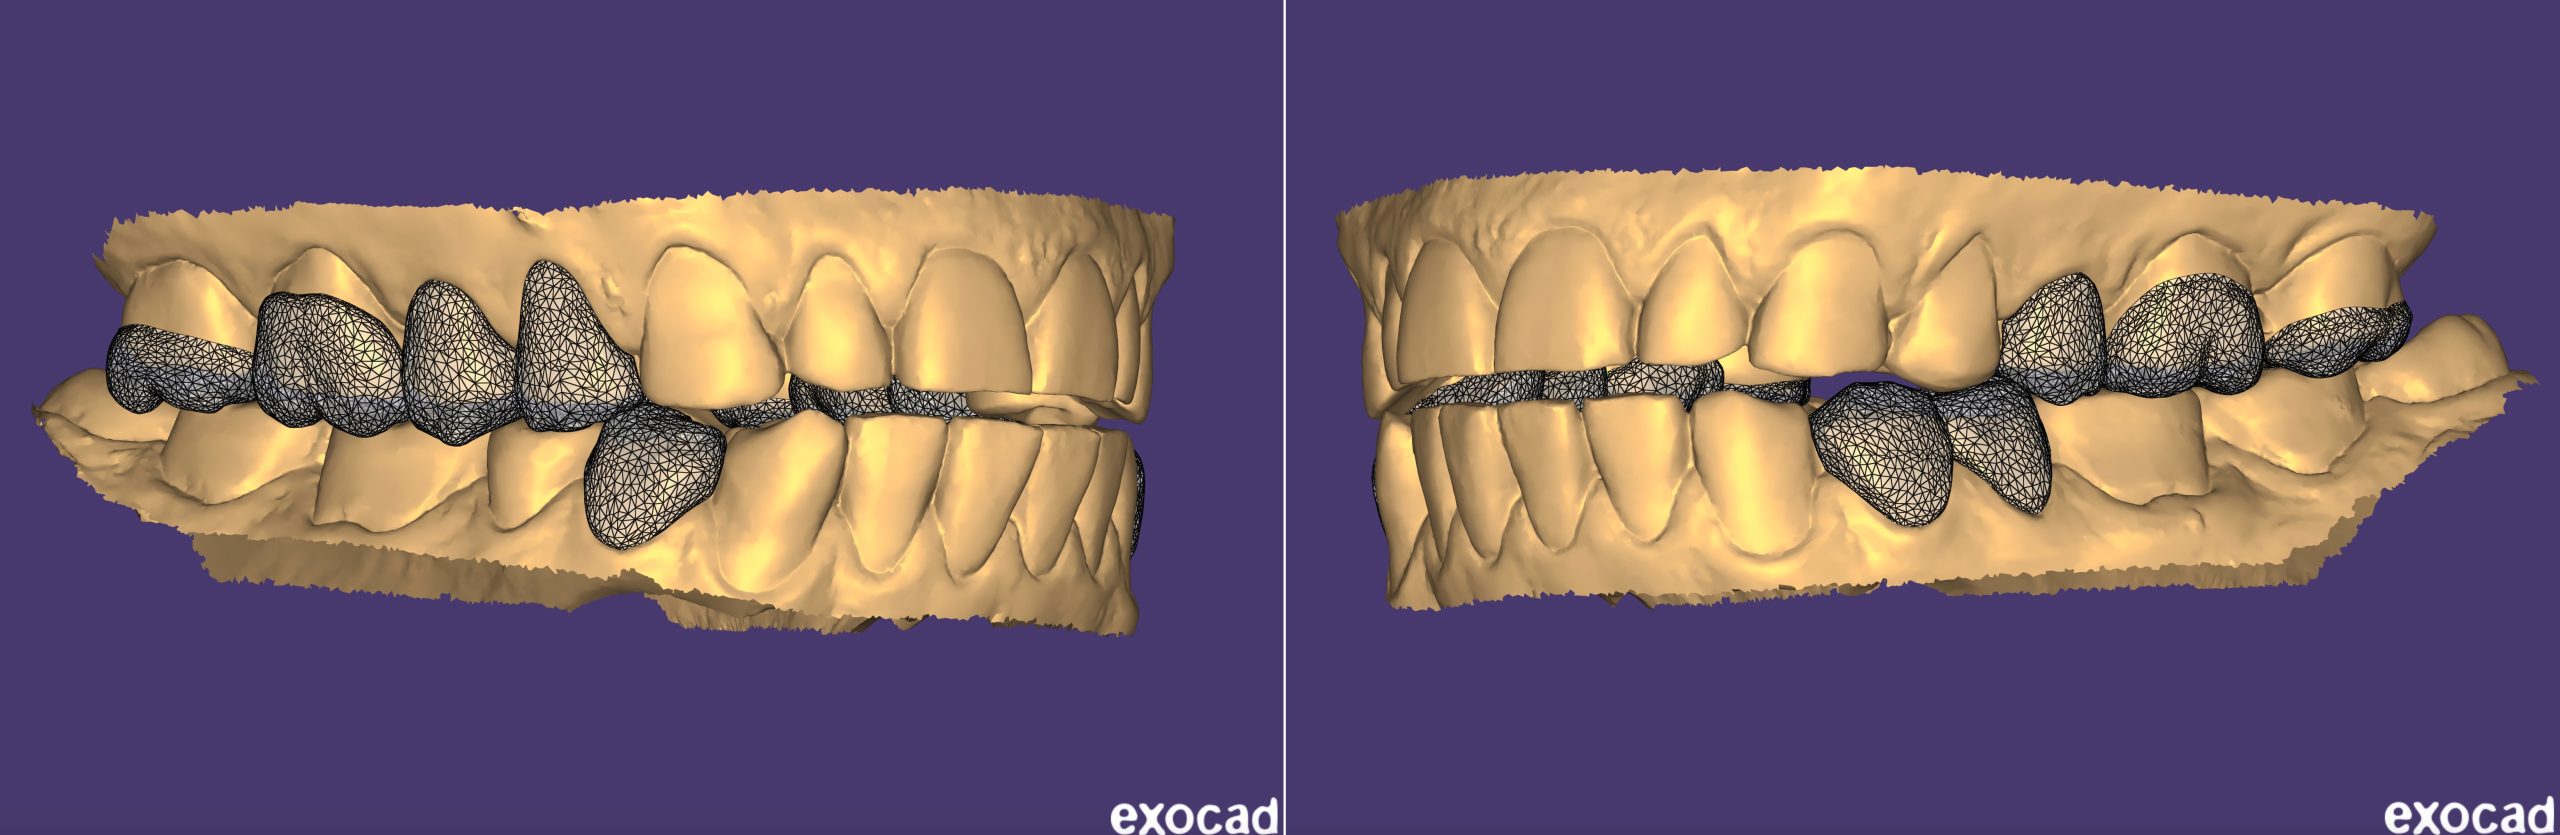
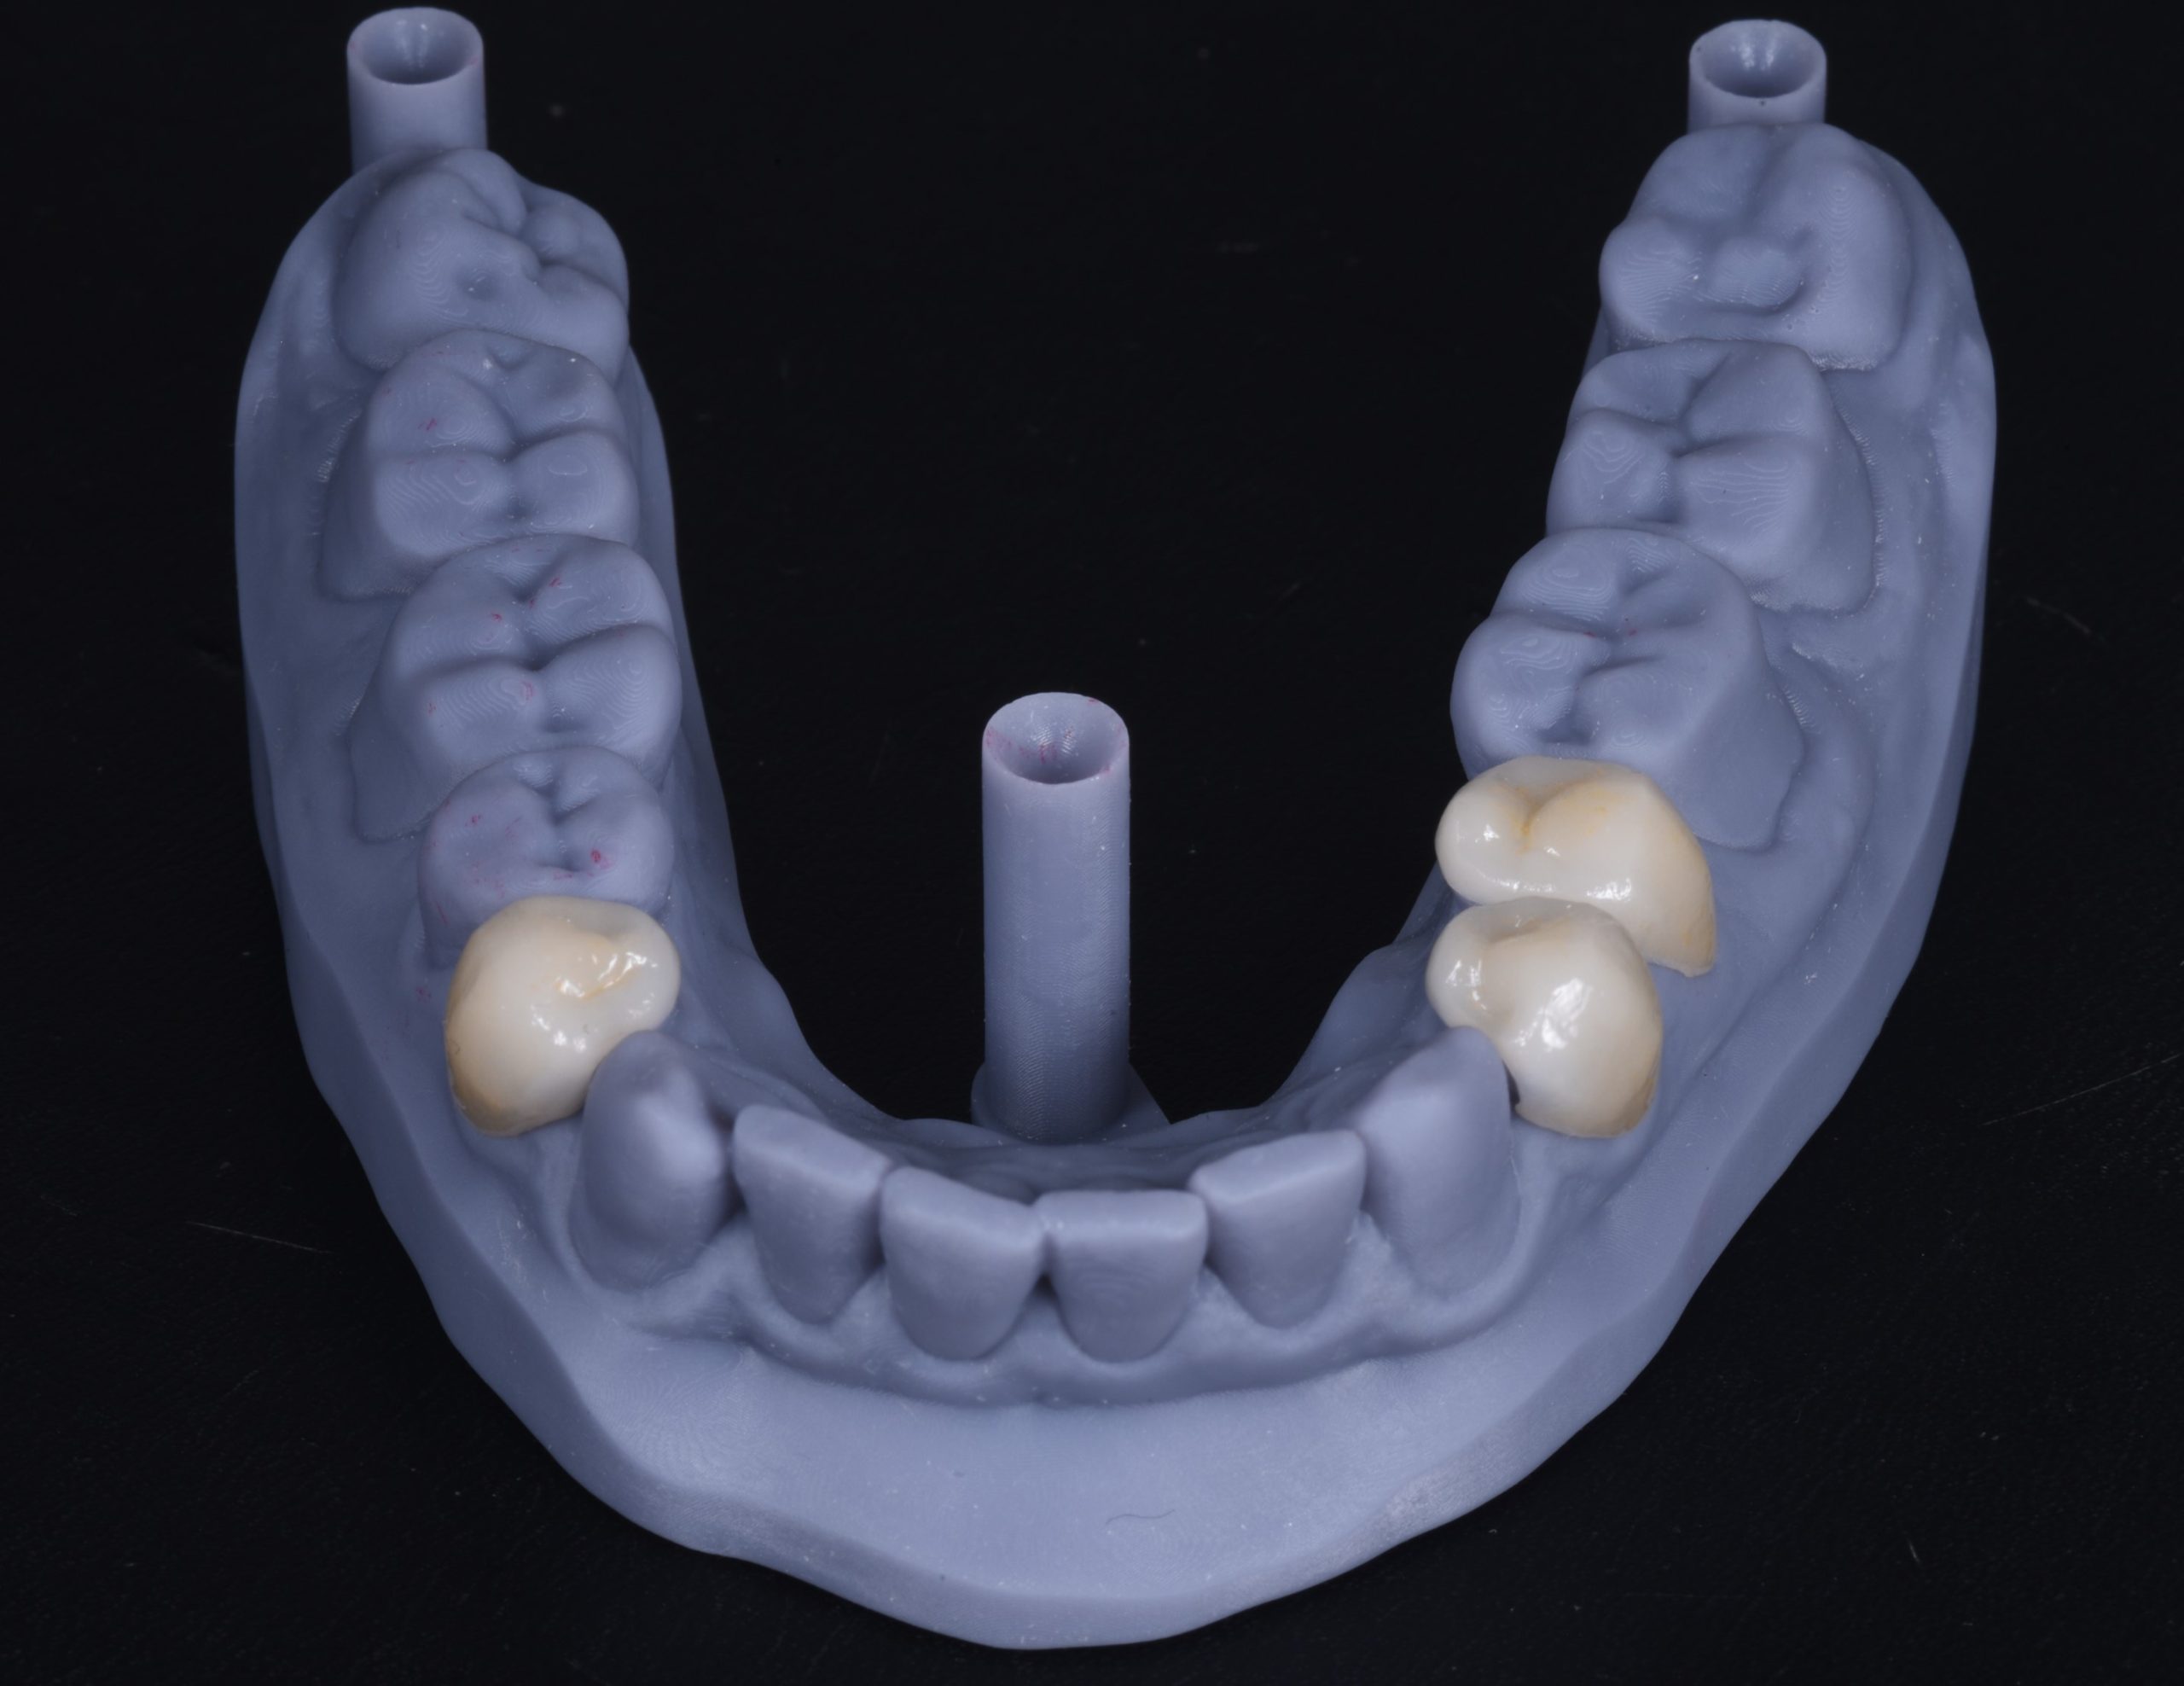
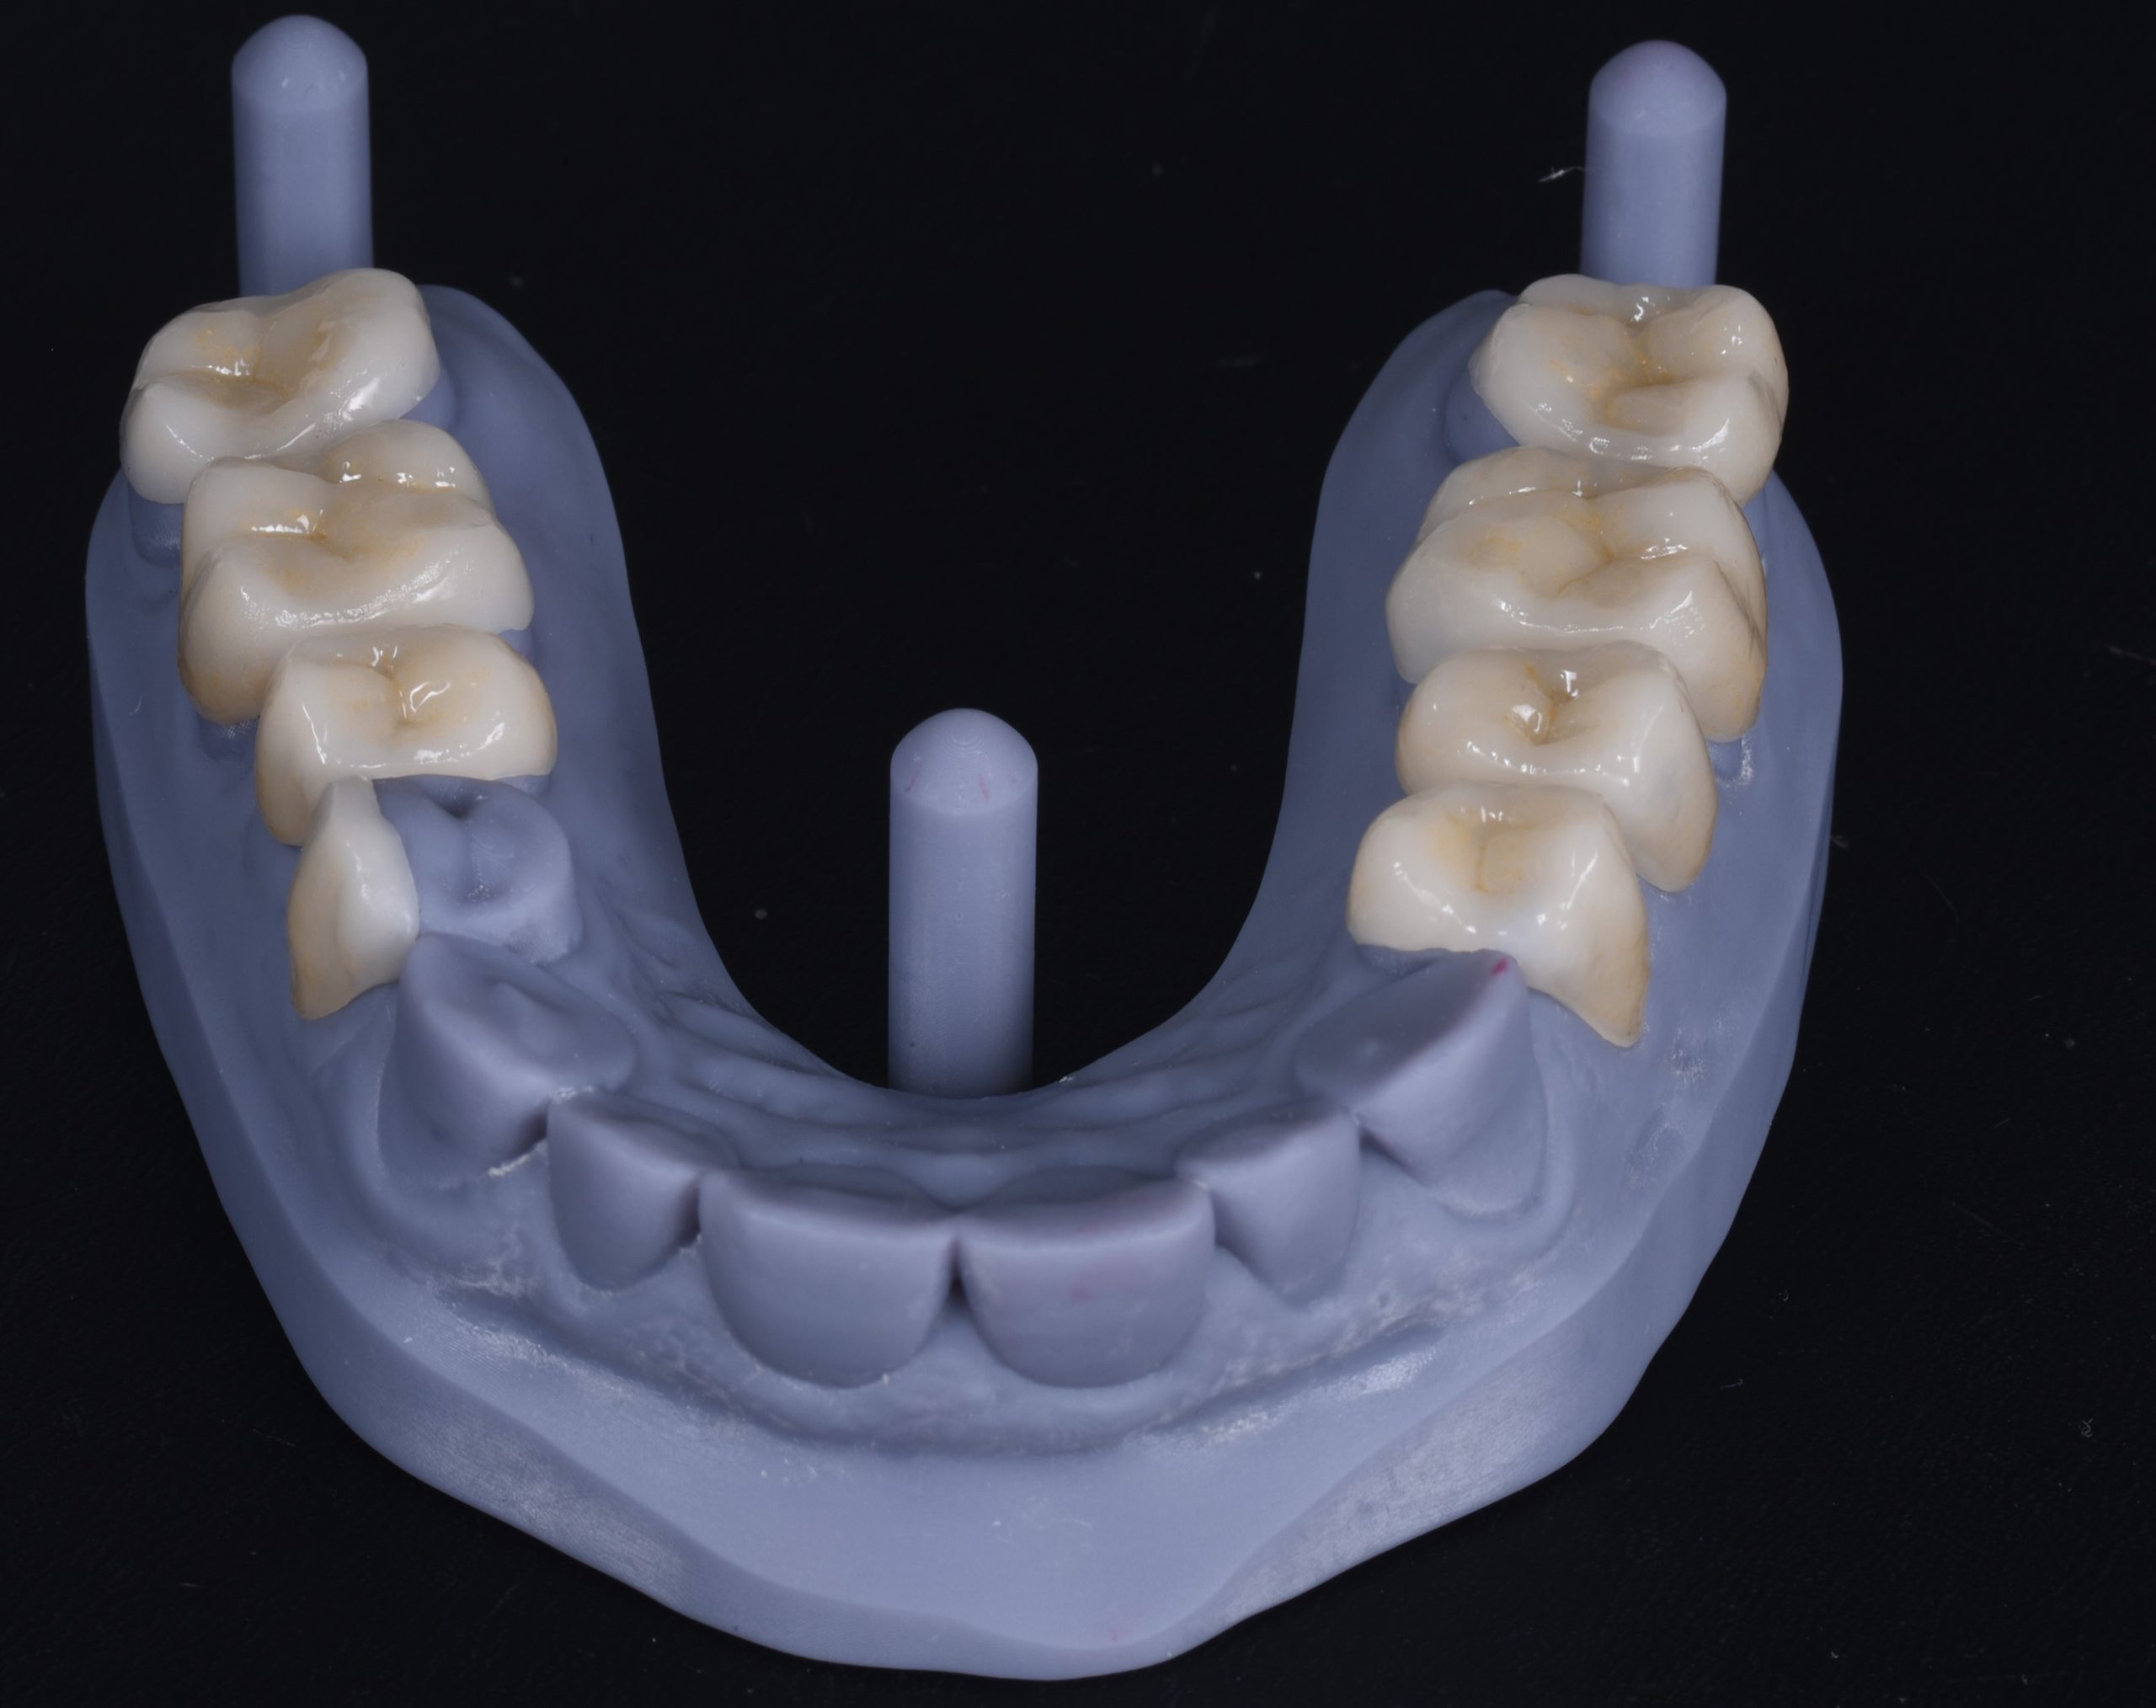
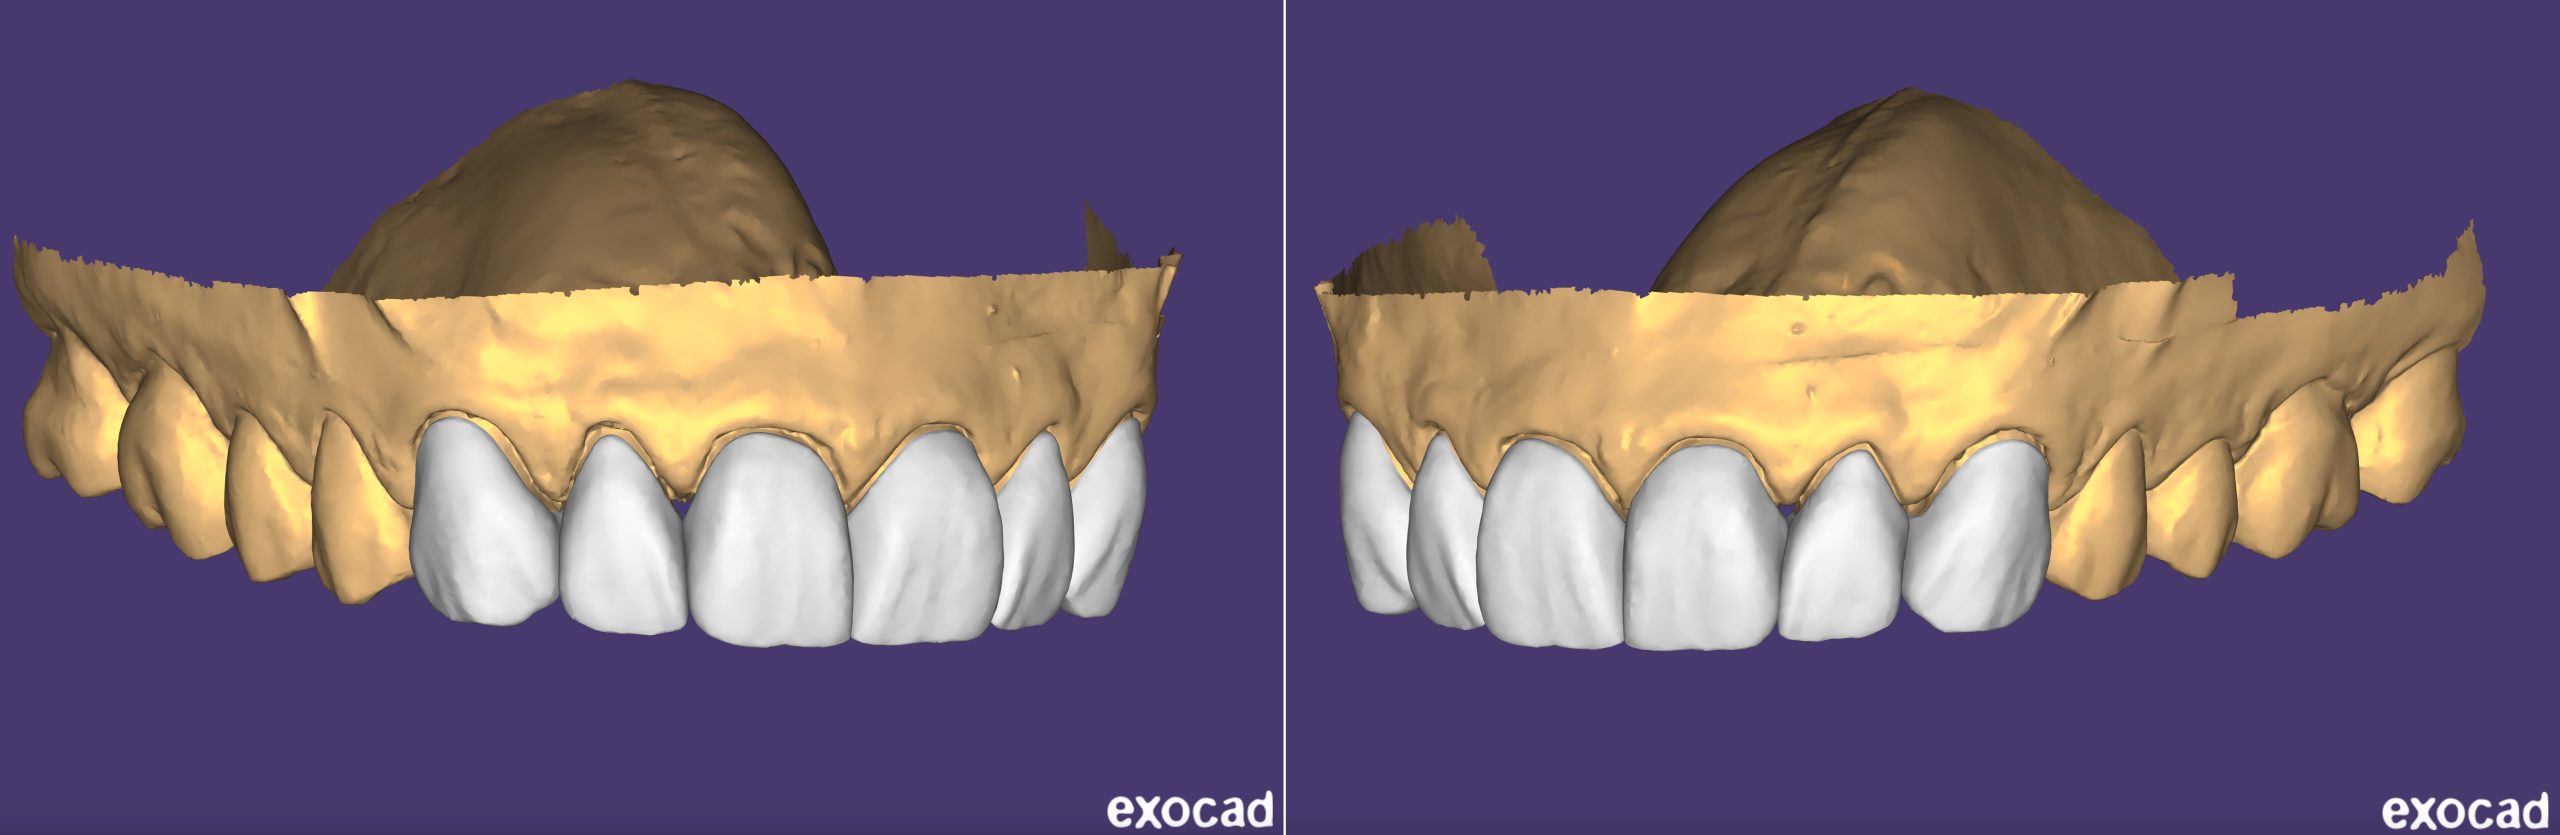
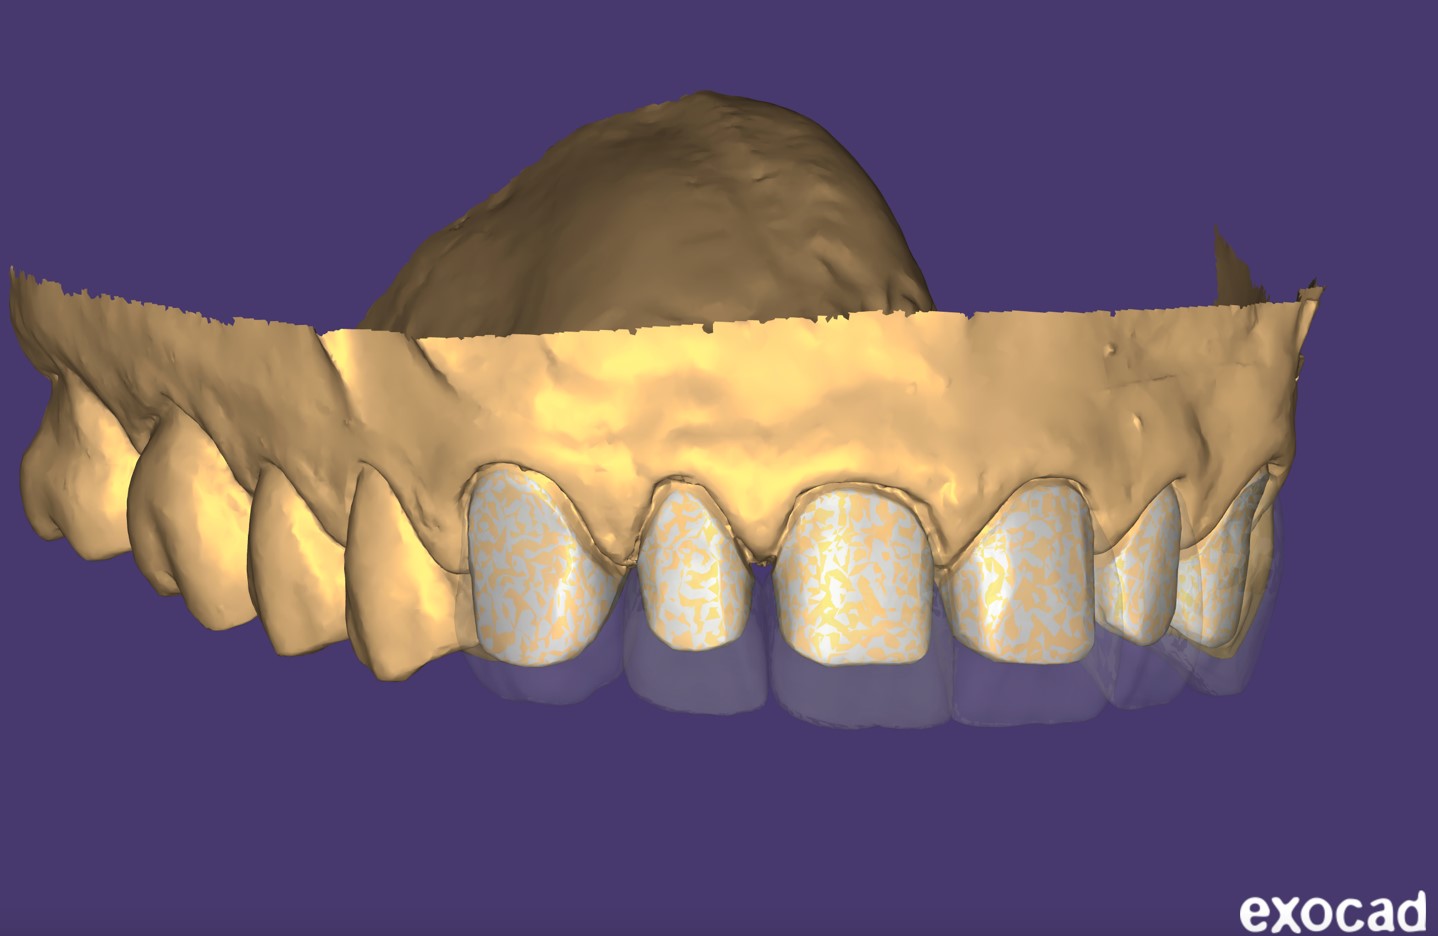
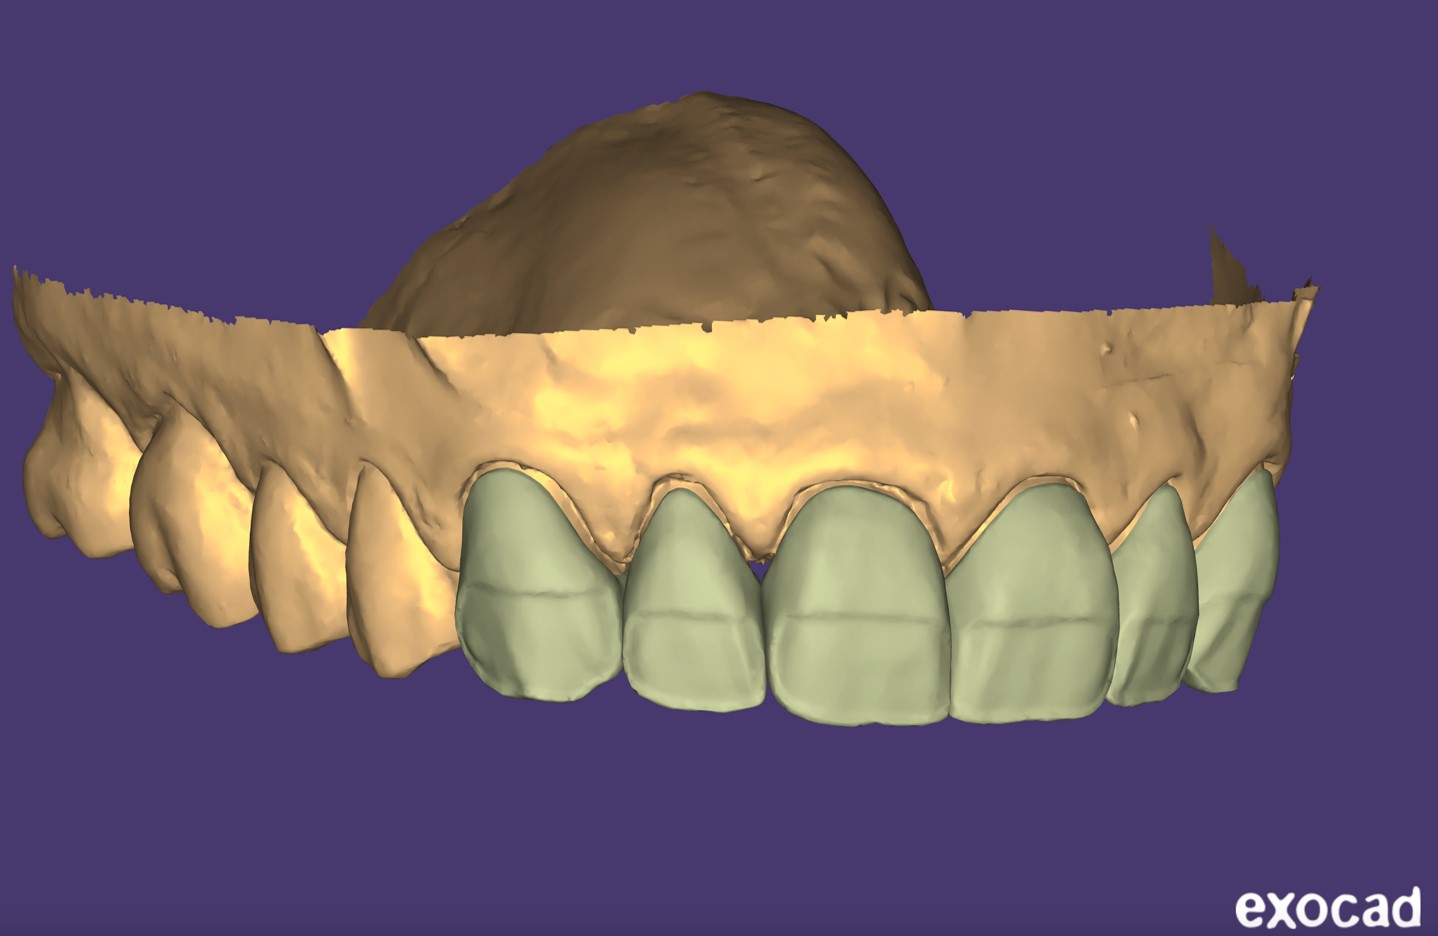
Restorations were designed on the Exocad software (Figure 4) and a lithium disilicate was the elected material for their fabrication (Figure 5).
The restorations were bonded adhesively into the mouth of the patient.
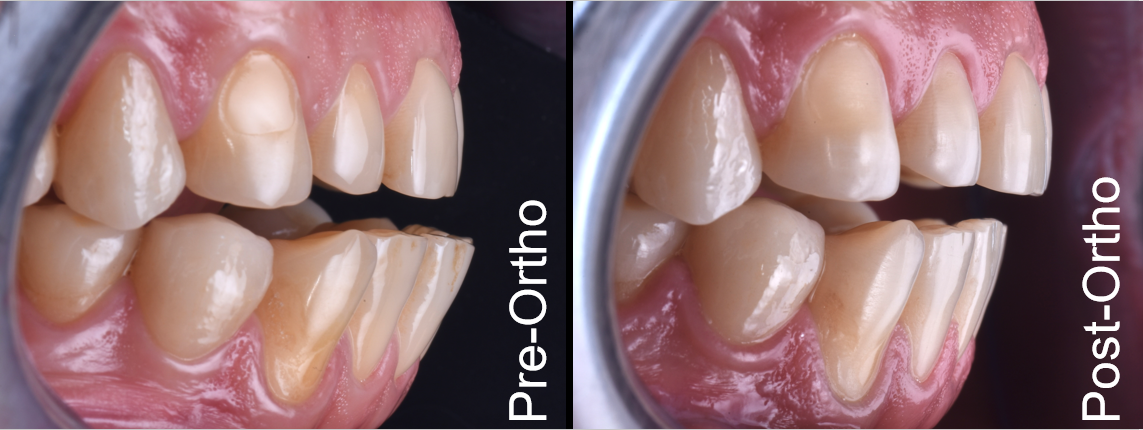
After the rise of the VDO the patient’s anterior occlusion was ideal to restore anterior guidance. Therefore, it was necessary to provide the patient with orthodontic treatment (Figure 6).
After the orthodontic treatment was completed, the direct composite was utilised to restore incisal edge of lower incisor (Figure 7).
Subsequently, the final aesthetic wax-up of the anterior sextant was completed in order to ultimately validate the aesthetic rehabilitation and to guide the minimally invasive preparations of the crowns (Figure 8).

Final preparations were guided by the mock-up (Figure 9) and, for the most part, they were limited to the interproximal area (Figure 10).
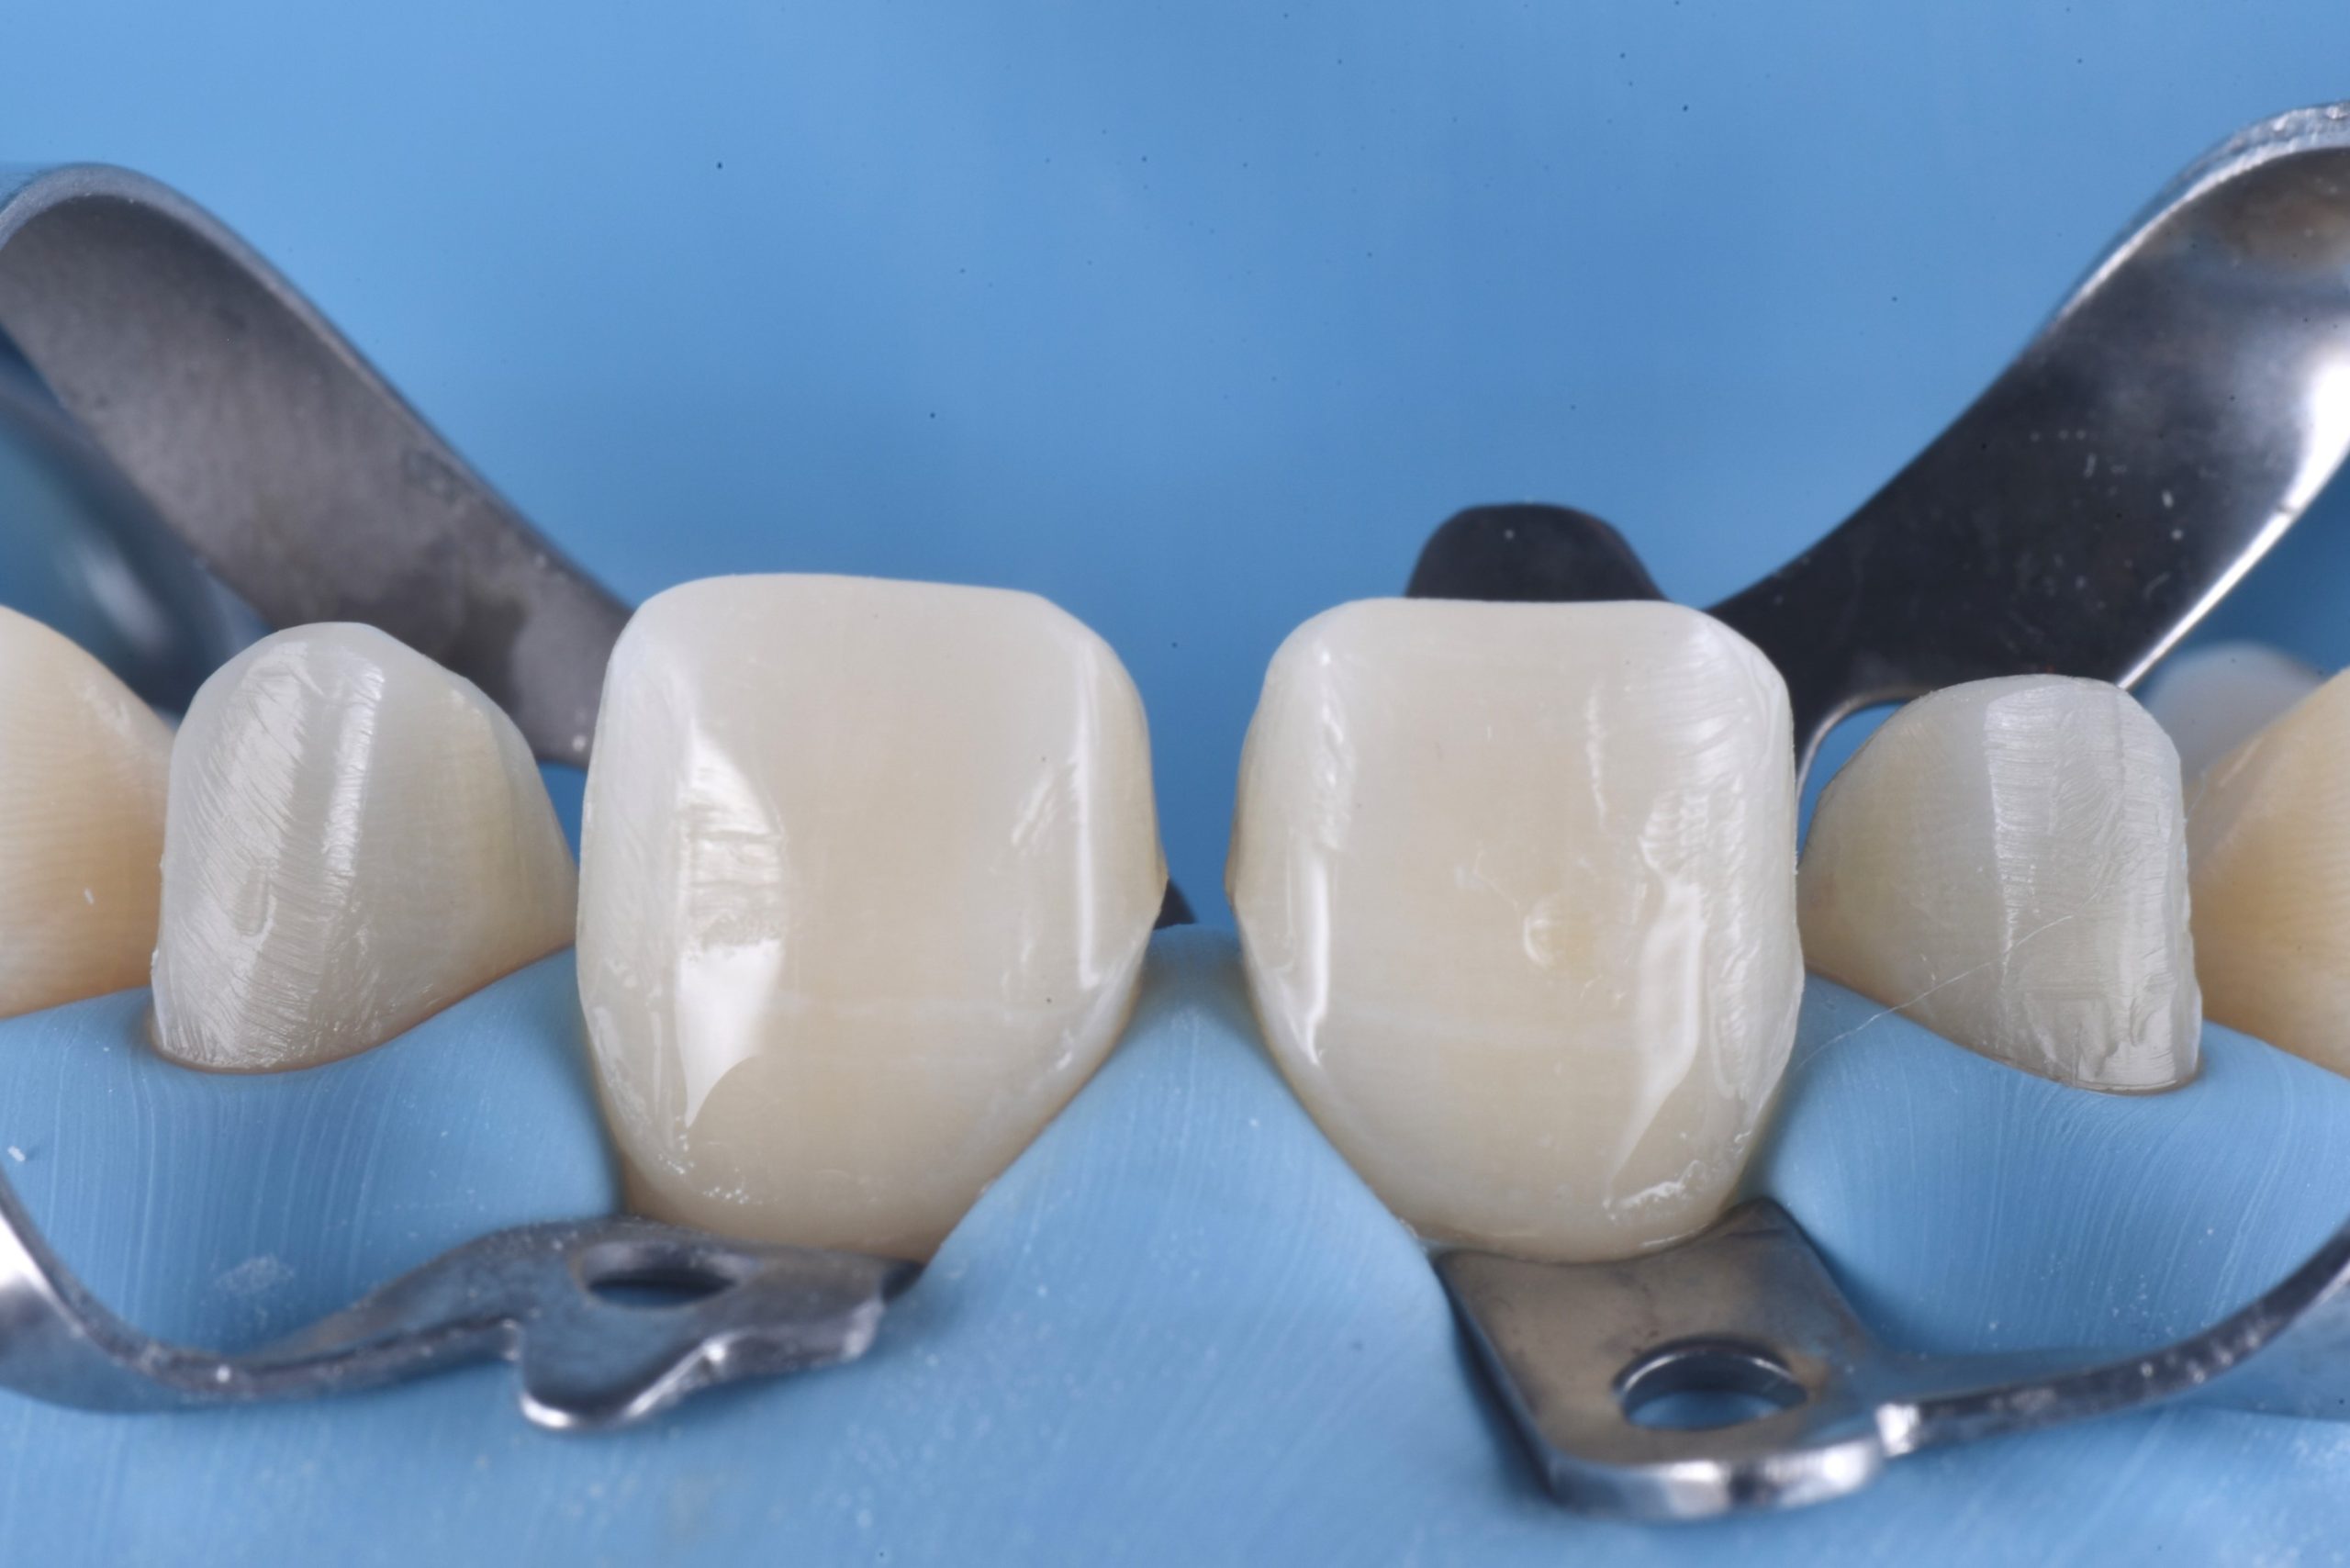
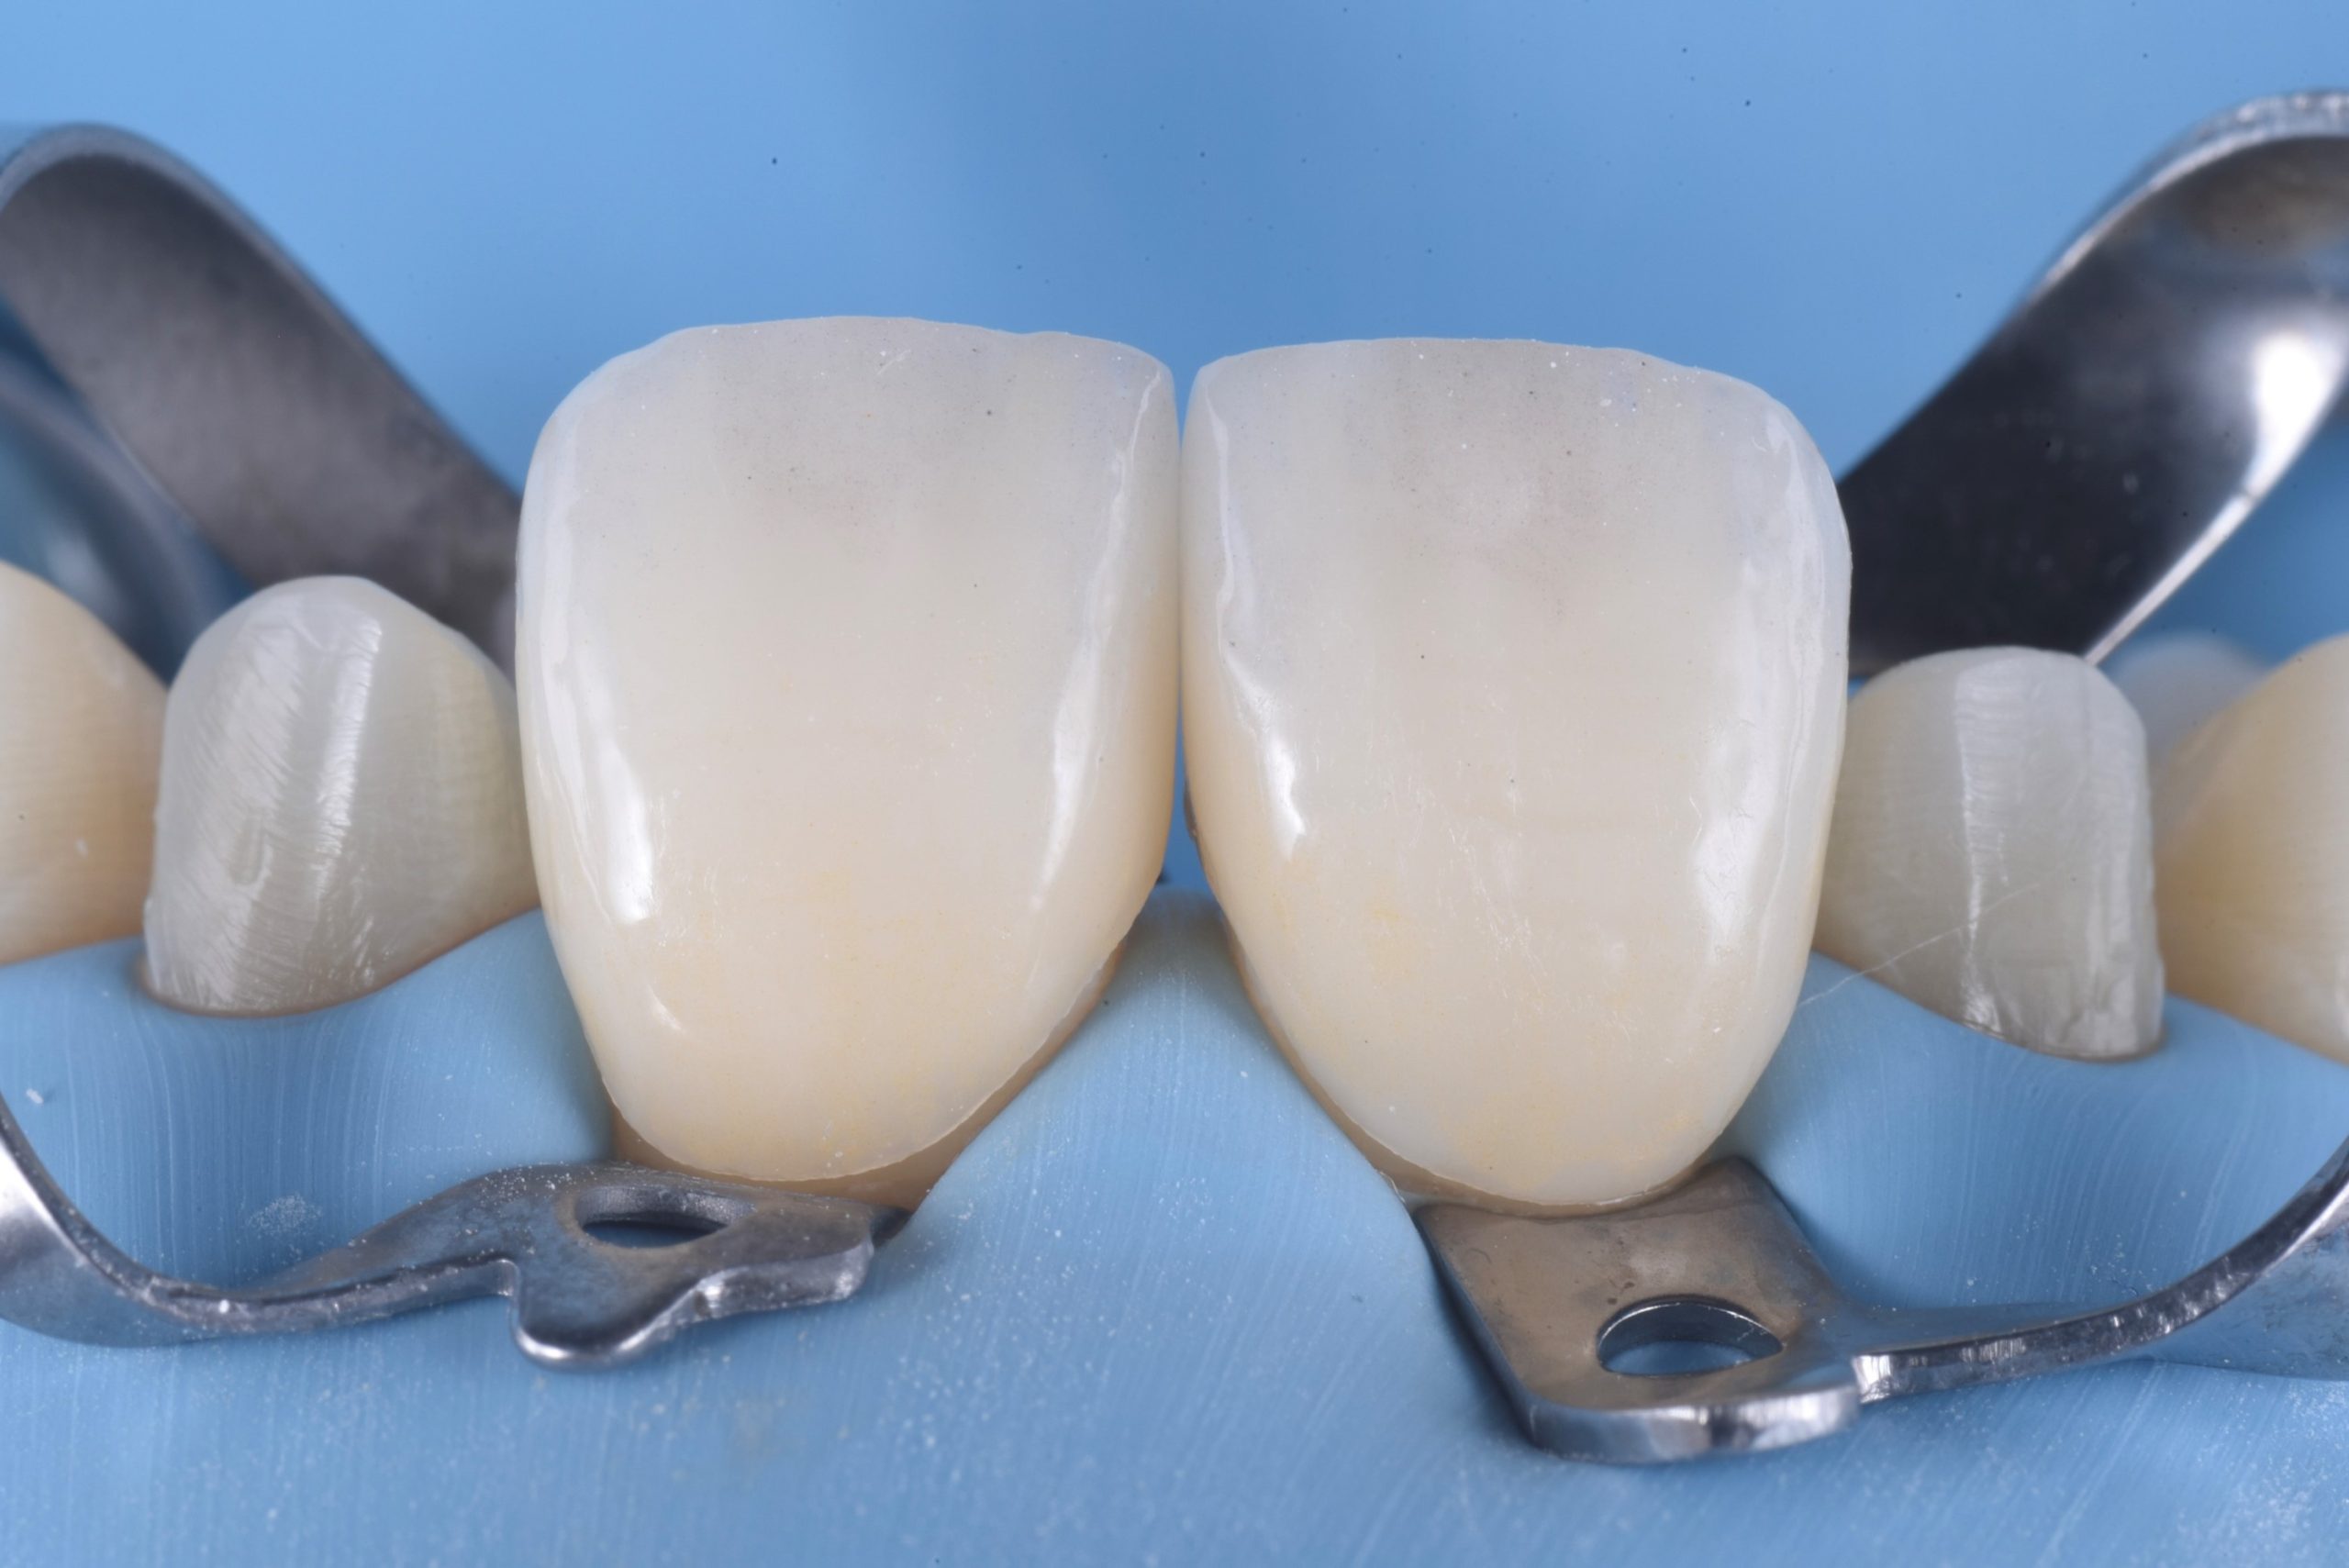
After that, we took a final digital impression (Figure 11) of the anterior crowns with the IS 3800W intraoral scanner after a simple displacement of the gingiva with the retraction cord.


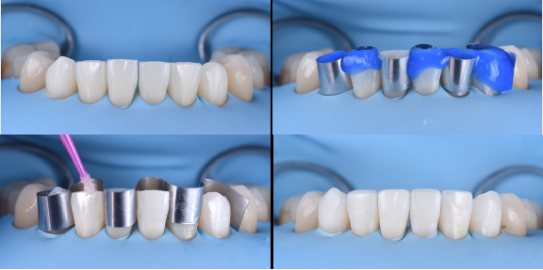
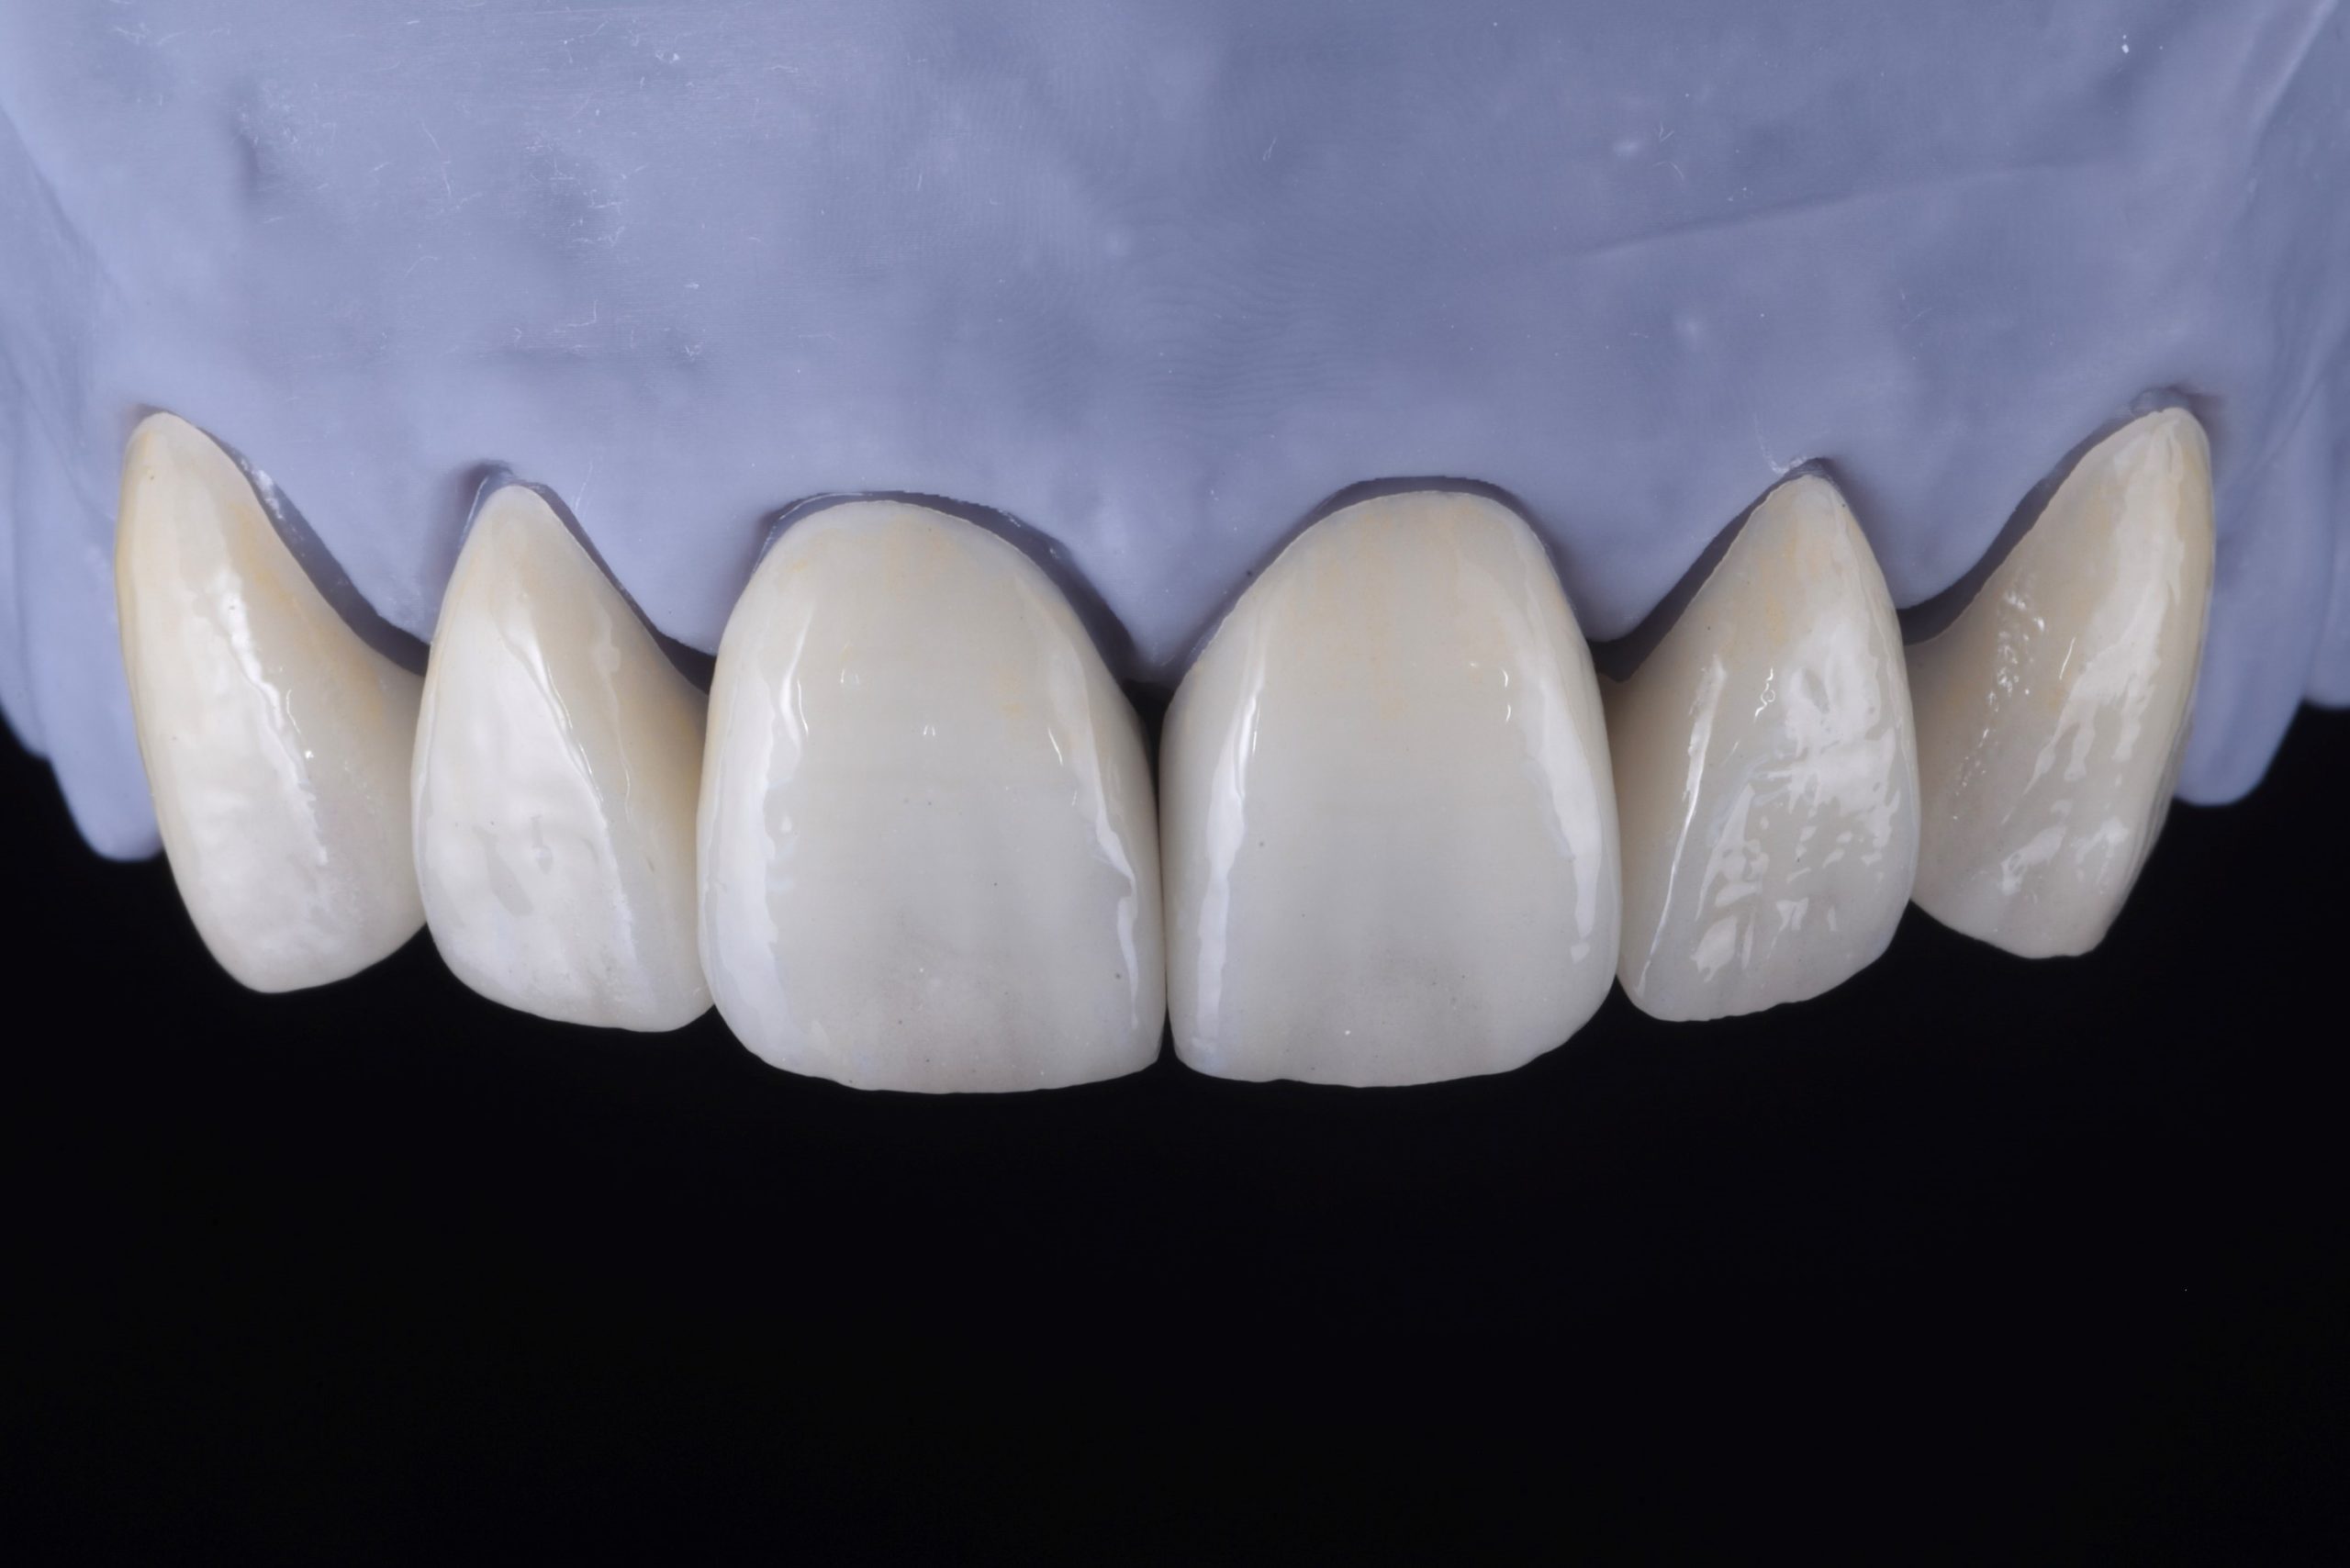
For the digital design, a small reduction of the inferior half of the buccal surface of the monolithic restorations was created in order to stratify the porcelain and achieve the best possible aesthetic result (Figure 12, Figure 13, and Figure 14).
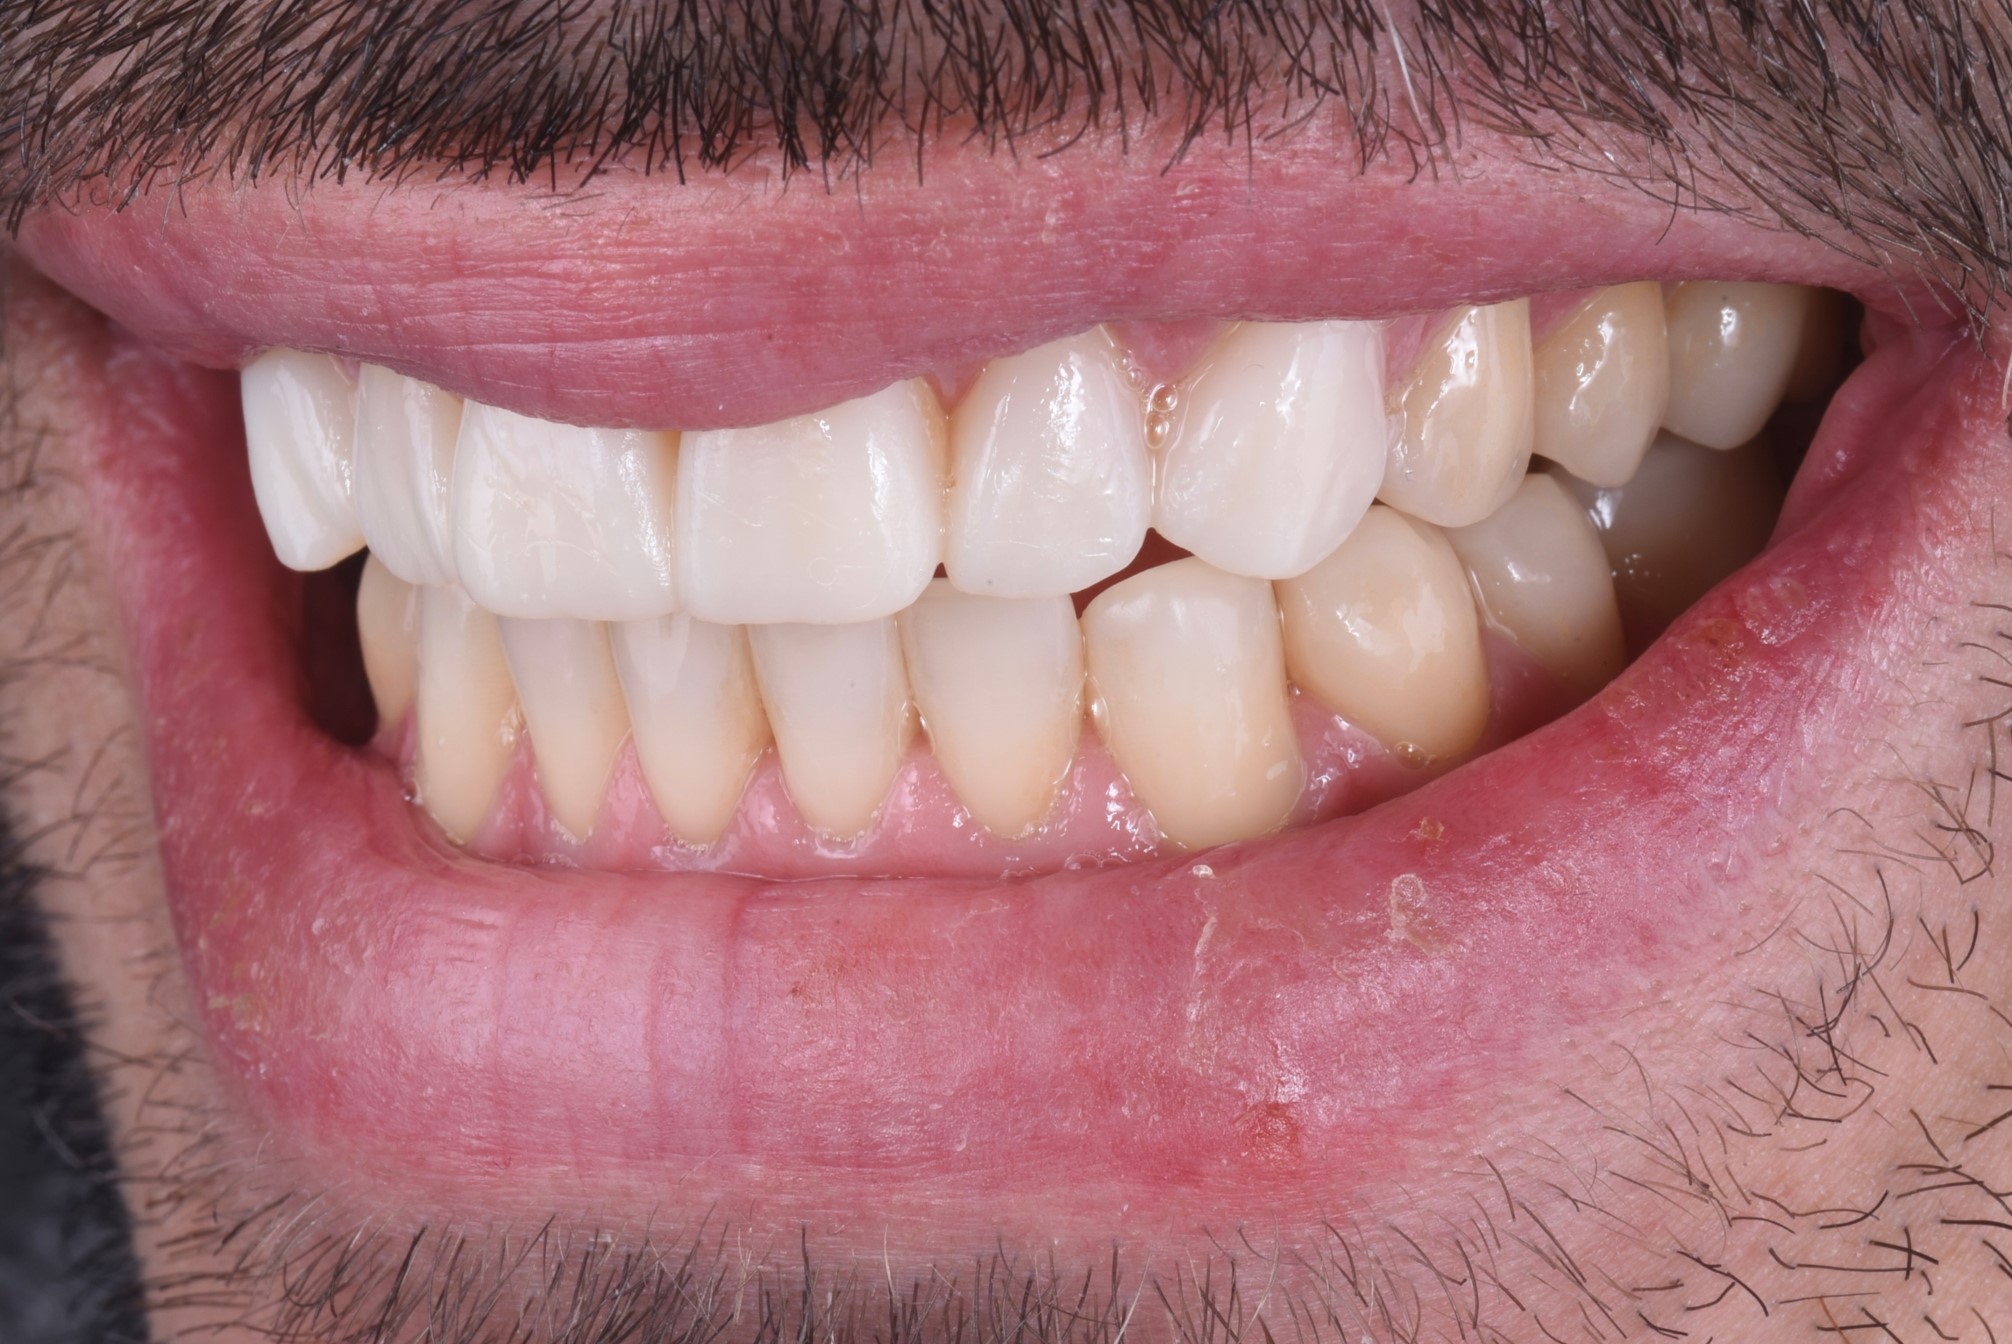
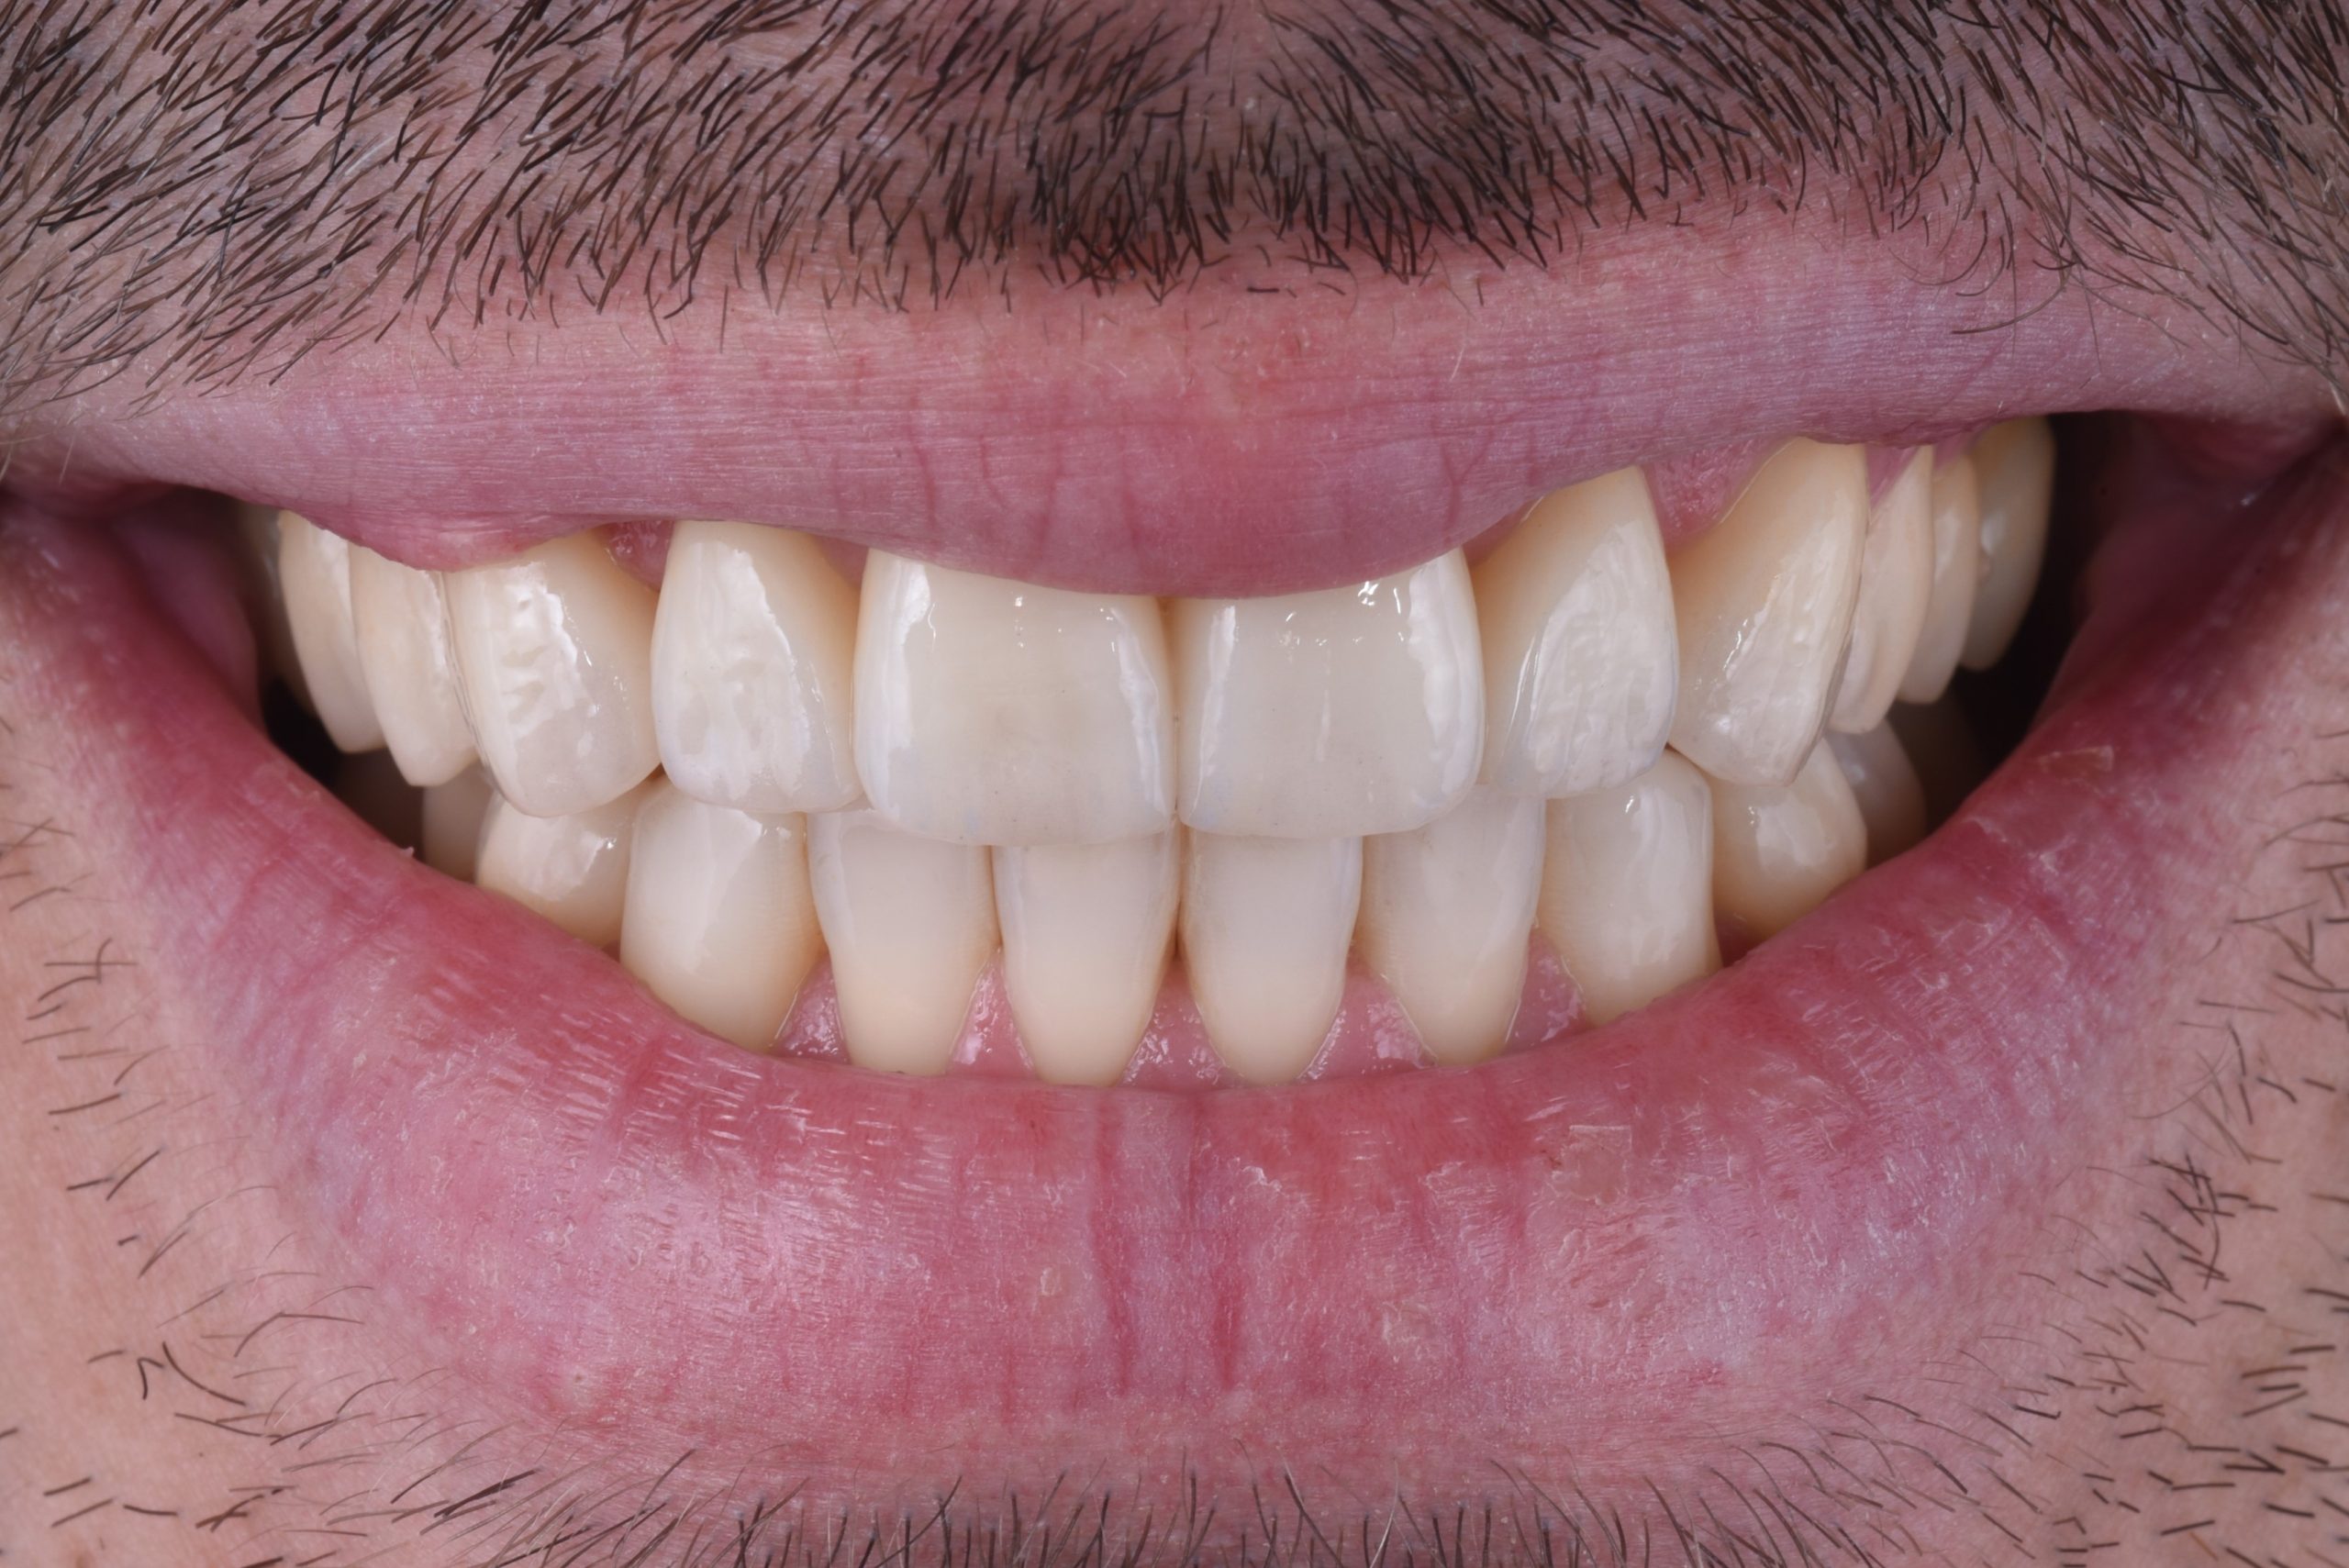
Ultimately, the final restorations (Figure 14) were bonded adhesively into the mouth with the use of a rubber dam (Figure 15). The final photos (Figure 16 and Figure 17) were taken a couple of weeks after the cementation.

To learn more, visit us online at dexis.com.